
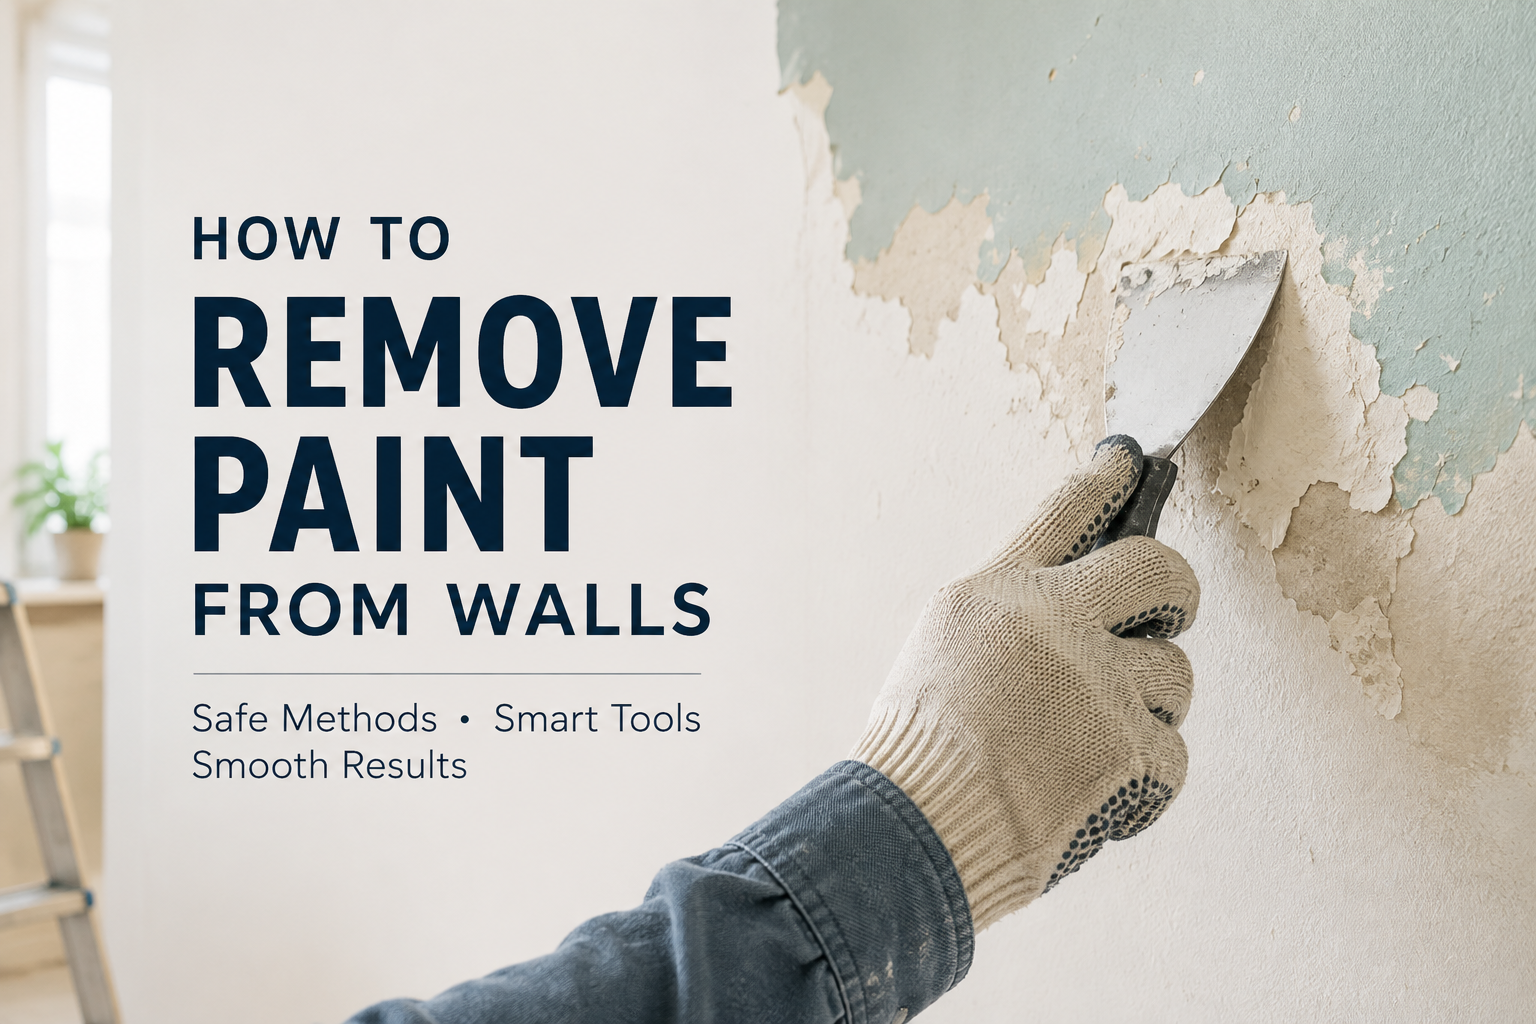
Learning how to remove paint from walls is mostly about knowing how much paint actually needs to come off. In many cases, you do not need to strip a wall back to the bare surface. Loose, peeling, blistered, or poorly bonded paint should be removed, while sound paint can often be cleaned, lightly sanded, primed, and repainted.
The safest method also depends on what is underneath the paint. Drywall needs a much gentler approach than plaster or masonry. Before reaching for a scraper or chemical stripper, inspect both the coating and the wall itself.
Do You Really Need to Remove All the Old Paint?
One of the biggest mistakes homeowners make is assuming every repainting project requires complete paint removal.
If the existing paint is firmly bonded, smooth, and free from moisture problems, full stripping may create unnecessary work and even damage the wall. Surface preparation may be enough.
You are more likely to need paint removal when:
- Paint is peeling or flaking in several areas.
- Bubbles or blisters are appearing beneath the coating.
- Several thick layers have created an uneven surface.
- Previous paint has poor adhesion.
- Water damage has caused paint to separate from the wall.
- You need to expose the underlying surface for repairs.
- The finish is so uneven that sanding alone will not produce a smooth result.
Cracked and flaking paint should be removed before repainting rather than simply covered with another coat.
If the wall is sound and you only want a different color, stripping it completely is usually unnecessary.
Identify the Wall Before Choosing a Removal Method
A successful paint-removal job starts with identifying the surface underneath.
Drywall
Drywall is common in modern homes, but its paper face can be damaged by aggressive scraping, excessive moisture, coarse sanding, and some stripping products.
For drywall, the goal should usually be to remove only unstable paint, feather the surrounding edges, repair damaged areas, and create a smooth surface for primer.
Plaster
Plaster is generally harder than drywall and may tolerate more scraping, but older plaster can become brittle or separate from the underlying lath.
Work gradually and avoid forcing a scraper beneath firmly attached coatings.
Brick or Masonry
Paint removal from interior brick, concrete, or masonry is a different project. These surfaces may require specialized masonry-safe stripping products and more extensive cleaning.
Products and techniques designed for masonry should not automatically be used on drywall or plaster.
Safety Comes Before Paint Removal
Before learning how to remove paint from walls, consider the age of the property.
Homes built before 1978 are more likely to contain lead-based paint. Sanding, scraping, cutting, and other renovation activities can turn lead-containing coatings into hazardous dust and paint chips. The EPA recommends lead-safe practices and advises homeowners planning renovation work in pre-1978 homes to consider trained lead-safe professionals.
If lead paint may be present, do not start aggressively sanding or scraping until the situation has been properly assessed.
For ordinary modern paint-removal projects, basic protection should still include:
- Safety glasses
- Suitable gloves
- Dust mask or appropriate respirator
- Long sleeves
- Drop cloths or plastic sheeting
- Good ventilation
- A vacuum suitable for fine construction dust
Keep children and pets away from the work area until cleanup is complete.
Tools You May Need
You will not necessarily need every tool below. Choose tools according to the condition of the paint and type of wall.
Useful supplies include:
- Wide putty knife or paint scraper
- Sanding sponge
- Fine or medium-fine sandpaper
- Joint compound or spackling compound
- Drop cloths
- Painter’s tape
- Clean cloths or sponges
- Bucket of clean water
- Wall-compatible paint stripper, if required
- Paintbrush for applying stripper
- Primer
- HEPA-filtered vacuum where appropriate
A scraper with a slightly rounded or smooth edge can be easier to control on delicate wall surfaces than a sharp blade.
How to Remove Paint from Walls Step by Step
The following process works well for many painted drywall and plaster walls where the existing coating is peeling, cracking, or failing.
Step 1: Find Out Why the Paint Is Failing
Do not begin by scraping immediately.
First determine why the coating is coming loose. Paint failure can result from moisture, poor previous preparation, painting over a dirty surface, incompatible coatings, or deterioration over time.
Moisture is especially important. Paint blistering can occur when moisture or heat causes the coating to lose adhesion. Simply scraping and repainting without correcting the moisture source may cause the problem to return.
Check for:
- Plumbing leaks
- Roof or window leaks
- Damp exterior walls
- Bathroom humidity
- Condensation
- Previous water stains
Resolve the underlying problem before refinishing the wall.
Step 2: Prepare the Room
Move furniture out of the work area or place it in the center of the room and cover it.
Protect floors with drop cloths or plastic sheeting. Remove outlet and switch covers where appropriate, and tape around trim or surfaces you are not working on.
Containment becomes particularly important when the job creates significant dust.
Step 3: Remove Loose and Peeling Paint
Start with paint that has already lost adhesion.
Hold a scraper at a shallow angle and gently push it underneath loose edges. Remove paint that releases easily without digging into the wall.
Do not keep scraping simply because a small amount of paint remains. If the coating is firmly bonded, forcing the scraper underneath it can damage drywall paper or gouge plaster.
Continue until you reach paint that feels secure around the perimeter of the damaged area.
Step 4: Feather the Edges
After loose paint has been removed, you may be left with visible ridges where the remaining paint meets the exposed wall.
Light sanding helps blend those transitions.
For final drywall smoothing, fine sandpaper in roughly the 180 to 220-grit range can help create a paint-ready finish without aggressively cutting into the drywall surface.
Sand lightly. The objective is to smooth the transition, not grind through the drywall facing.
Step 5: Use a Paint Stripper Only When Necessary
A chemical paint remover can be useful when multiple layers must be removed or when scraping alone is ineffective.
However, chemical stripping should not automatically be your first choice for painted drywall.
If you decide to use one:
- Confirm that the product is suitable for your wall material.
- Read the manufacturer’s safety and ventilation instructions.
- Test it on a small, inconspicuous section.
- Apply only the recommended amount.
- Allow it to work for the specified time.
- Gently lift the softened coating.
- Clean or neutralize the surface exactly as instructed by the product manufacturer.
Never assume that leaving a stripper on longer will improve the result. Overexposure can affect the surface beneath the paint.
Step 6: Be Careful With Heat
Heat guns can soften some coatings, but they are generally not the first method we would recommend for ordinary painted drywall.
Too much heat can damage wall materials, scorch surfaces, create fumes, and make an already messy project harder to control.
Heat is especially inappropriate when lead-based paint may be present unless proper lead-safe methods and equipment are being followed. EPA guidance for lead-safe DIY renovation discusses specific controls and limits for heat-based removal methods.
For most interior wall projects, controlled scraping, limited sanding, repairs, and appropriate stripping products provide a more manageable approach.
What If the Drywall Paper Comes Off?
If scraping exposes the brown paper beneath the drywall surface, stop working that area.
Continuing to scrape can enlarge the damage.
Remove only loose paper, carefully smooth the edges, and repair the affected area before painting. Damaged drywall paper may require an appropriate sealing primer before joint compound or finishing materials are applied.
Do not simply paint directly over torn drywall paper and expect the repair to disappear.
Repair the Wall Before Repainting
Paint removal is only part of the preparation process.
Once unstable paint has been removed, inspect the wall under good lighting. Small defects that seem insignificant before painting can become more noticeable after a fresh finish is applied.
Repair:
- Scraper gouges
- Nail holes
- Dents
- Hairline cracks
- Damaged drywall
- Uneven paint edges
Apply suitable patching or joint compound, allow it to dry fully, and sand it smooth.
Run your hand across the repaired area. If you can clearly feel the transition, there is a good chance you will also see it after painting.
Clean the Wall Thoroughly
Paint dust, sanding residue, grease, and debris can interfere with primer and paint adhesion.
Vacuum dust from the work area and wipe the wall using a suitable cleaning method. Avoid soaking drywall.
After cleaning, allow the surface to dry completely before moving to primer.
Proper surface cleaning and preparation are important steps in achieving a smooth, durable painted finish.
Do Not Skip Primer After Major Paint Removal
When portions of drywall, plaster, patching compound, and old paint are exposed at the same time, the wall may absorb paint unevenly.
Primer helps create a more consistent surface and improves the appearance of the finish coat. It is especially useful when you have:
- Exposed drywall or plaster
- Large patched areas
- Stains
- Significant color changes
- Uneven porosity
- Repairs extending across several areas
Choose a primer suitable for both the wall material and the paint system you plan to apply.
Common Paint Removal Mistakes to Avoid
Even a small room can become a major repair project if paint is removed too aggressively.
Avoid these common mistakes:
Scraping Firmly Attached Paint
Remove what is failing. Do not try to force every existing coating off a sound drywall surface.
Using Coarse Sandpaper Everywhere
Aggressive sanding can damage drywall paper and create unnecessary dust.
Ignoring Moisture
Fresh paint will not solve an active moisture problem.
Skipping the Test Area
Whether you are sanding, scraping, or using a chemical product, test your approach in a small section first.
Painting Immediately After Stripping
Walls need to be cleaned, repaired, dried, and often primed before new paint is applied.
Treating Every Wall the Same
Drywall, plaster, concrete, and brick require different levels of force and different products.
When Professional Paint Removal Makes More Sense
DIY paint removal can work well when only a few small areas are peeling.
Professional help becomes more valuable when:
- Most of the room needs stripping.
- Numerous old paint layers are present.
- The wall has extensive drywall or plaster damage.
- Lead-based paint is suspected.
- Water damage is involved.
- The existing coating repeatedly fails.
- You need a highly smooth finish afterward.
- Several rooms need preparation and repainting.
A professional painter can often determine that complete stripping is unnecessary and use targeted preparation instead, saving both time and unnecessary damage to the wall.
A Better Finish Starts With Better Preparation
Knowing how to remove paint from walls does not mean stripping away every trace of old paint. The better approach is to identify why the coating is failing, remove only what needs to come off, protect the underlying wall, repair imperfections, and create a clean, stable surface before primer and paint are applied. For homeowners who would rather have surface preparation, repairs, and repainting handled professionally, Century Painting & More provides experienced house painting services charlotte nc for interior and exterior projects throughout the Charlotte area.