
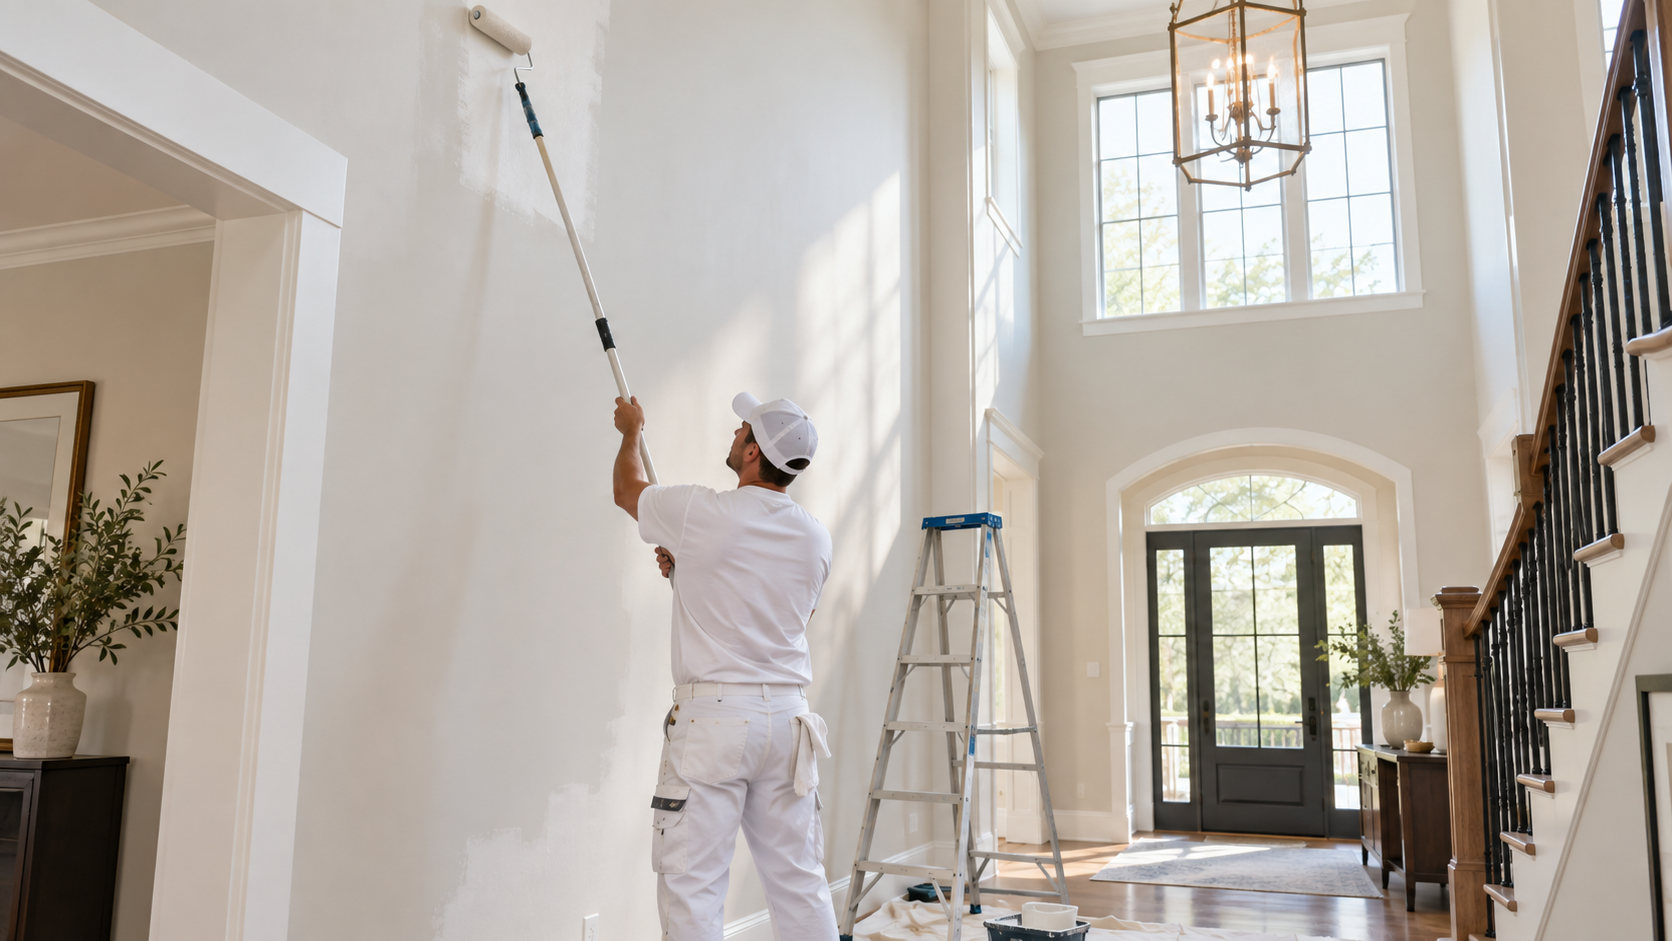
If you are asking how do you paint high walls without ending up with patchy coverage, roller marks, or an unsafe setup, the key is to plan the job around reach before you start painting. Tall foyers, two-story living rooms, vaulted spaces, and stairwells are more difficult than standard rooms because you need to maintain consistent paint coverage while working several feet above normal reach.
The best approach is usually to combine an extension pole with a stable ladder or properly designed work platform only where necessary. Start at the highest areas, work downward in controlled sections, and maintain a wet edge so one section blends into the next.
Plan How You Will Reach Every Area Before Opening the Paint
Most problems with high-wall painting happen because homeowners begin rolling the easy portions first and only later realize they cannot safely reach corners, ceiling lines, or upper wall sections.
Before painting, walk through the room and divide the walls into reach zones.
Ground-Level Reach
These are areas you can comfortably paint using:
- A standard roller
- An extension pole
- An angled brush
- A roller extension adapter
Using a pole wherever possible reduces repeated climbing and helps maintain a more consistent rolling pattern.
Elevated Reach
These are areas that cannot be reached safely from the floor.
Depending on the room, access may require an appropriately sized ladder or professionally designed interior scaffolding. Stairwells and two-story foyers often require greater planning because the floor surface may not be level.
Never solve a reach problem by leaning excessively from a ladder or by creating an improvised platform.
If an area cannot be reached while maintaining a stable working position, change the access method instead.
How Do You Paint High Walls Without Missing Surface Problems?
Tall walls are often neglected during routine cleaning because they are difficult to reach. That means dust, cobwebs, cracks, and old paint defects may be more common near the ceiling.
Before painting, inspect the upper portion of the wall carefully.
Look for:
- Cobwebs in corners
- Dust buildup
- Nail pops
- Small drywall cracks
- Old water stains
- Peeling paint
- Failed caulk
- Rough previous repairs
Use an extension duster or another suitable long-reach cleaning tool for light cleaning.
Any damaged areas should be repaired before paint is applied. Fresh paint may improve the color of the wall, but it will not hide raised patches, loose paint, or poorly sanded repairs.
Protect the Room More Thoroughly Than You Would for Standard Walls
Paint travels farther when you are rolling several feet overhead.
Even an experienced painter can create fine splatter when using a long extension pole, so preparation matters.
Protect:
- Flooring
- Stair treads
- Railings
- Furniture
- Light fixtures
- Window trim
- Baseboards
- Doors
Move furniture away from the wall whenever possible rather than simply covering pieces that remain directly in the work zone.
This also gives you enough room to reposition an extension pole without striking objects behind you.
Paint the Ceiling First if the Entire Room Is Being Updated
When walls and ceilings both need paint, working from the top down usually makes the project easier.
A practical sequence is:
- Repair walls and ceiling.
- Paint the ceiling.
- Complete upper-wall cutting in.
- Roll the highest wall sections.
- Continue downward.
- Paint trim after the wall paint has dried.
This order helps prevent ceiling drips from damaging freshly finished walls.
It also means the hardest work is completed while you are still fresh and focused.
Cut In the Highest Edges Before Rolling
The narrow area where the wall meets the ceiling cannot normally be covered cleanly with a standard roller.
For high walls, the cutting-in stage may require more attention than the rolling itself.
Depending on the height and access, painters may use:
- An angled sash brush
- A purpose-made brush extension holder
- A paint edging tool
- A safely positioned ladder
- A professional work platform
The goal is to create a consistent painted border that the roller can overlap slightly.
Do not create a very wide cut-in strip and allow it to dry completely before rolling. The difference between brush texture and roller texture can become more noticeable on large walls.
How Do You Paint High Walls Without Lap Marks?
This is where technique makes the biggest visual difference.
When people ask how do you paint high walls, they often focus on reaching the top. Reaching the wall is only half the challenge. Keeping the finish uniform from top to bottom is equally important.
Work in Vertical Sections
Instead of painting the entire upper half of the wall and returning much later for the bottom, work in manageable vertical sections.
Begin at the top and continue downward while the paint remains workable.
Slightly overlap the previous section as you move across the wall.
Keep a Wet Edge
Lap marks can appear when wet paint is rolled over an area that has already started drying.
Large two-story walls make this more difficult because they take longer to cover.
To minimize the problem:
- Do not stop in the middle of a wall when possible.
- Avoid painting overly wide sections.
- Reload the roller before it becomes almost dry.
- Maintain consistent pressure.
- Work systematically across the wall.
Good lighting also matters because tall rooms often contain shadows that make thin spots difficult to see.
Use the Extension Pole Correctly
An extension pole is one of the most useful tools for high-wall painting.
It allows you to cover large areas while keeping both feet on the floor.
However, longer is not always better.
An excessively long pole can become difficult to control and may cause uneven pressure on the roller.
Adjust the pole so that you can reach the working area comfortably without stretching your shoulders or forcing the roller against the wall.
Roll With Controlled Pressure
The roller should do the work.
Heavy pressure can create:
- Roller-edge lines
- Uneven paint distribution
- Excessive splatter
- Thin patches
- Fatigue
Load the roller evenly, spread the paint across the section, and then use lighter finishing strokes to even out the surface.
High Walls Above Stairs Need a Different Plan
Stairwells are one of the most challenging areas because the working surface changes height from one step to the next.
Standard ladder placement may not be appropriate on stairs without equipment specifically designed for uneven surfaces.
A safer project plan may involve:
- Long extension poles for reachable areas
- Proper stair-compatible access equipment
- Professionally installed scaffolding
- Purpose-built leveling accessories when approved for the ladder system
Avoid makeshift boards between ladders or furniture.
The fact that a setup can physically hold a person does not automatically make it a safe work platform.
For extremely tall stairwells, professional painting is often the more practical option.
Vaulted Walls Should Be Painted From the Peak Down
Vaulted rooms create another problem: the wall height changes continuously.
Start at the highest point and work downward along the slope.
Breaking the wall into planned sections helps prevent missed areas.
Pay attention to the transition between the sloped ceiling and wall because uneven cutting lines are especially noticeable there.
Bright work lights can help reveal thin coverage before the paint begins drying.
Choose Paint That Gives You Enough Working Time
Large walls take longer to paint than standard rooms, so application characteristics matter.
A quality interior wall paint with good leveling and reasonable open time can make it easier to maintain a consistent appearance.
Eggshell and satin are common choices for walls because they offer some washability while avoiding the stronger reflection of higher-gloss finishes.
However, higher sheen also makes wall imperfections more visible.
For very tall spaces receiving strong natural light, proper wall preparation becomes even more important.
Avoid Stopping Halfway Across a Large Wall
One of the most useful professional habits is planning the stopping point before painting begins.
If you must divide the project, stop at a natural break such as:
- A corner
- A doorway
- Architectural trim
- A wall transition
Stopping in the middle of a large uninterrupted wall increases the chance that the resumed section will dry with a slightly different texture or sheen.
Check the Wall From Different Angles
Tall walls may look perfect when viewed straight on but reveal problems when sunlight enters from a nearby window.
Once a coat has dried, inspect the room from several angles.
Look for:
- Roller lines
- Thin areas
- Missed sections
- Uneven sheen
- Paint drips
- Visible repairs
- Poorly blended cut-in areas
Do this before applying the final coat so corrections can be incorporated into the next application.
When Is Painting High Walls Better Left to Professionals?
Understanding how do you paint high walls does not necessarily mean every high wall should become a DIY project.
Professional help becomes especially valuable when the room includes:
- Two-story walls
- Tall stairwells
- Very high vaulted ceilings
- Large chandeliers
- Difficult architectural angles
- Limited safe ladder placement
- Extensive drywall repairs
- Multiple adjoining high walls
Professional painters already have the access equipment and work sequencing needed to maintain consistent coverage across large vertical surfaces.
That can be particularly important when the wall is highly visible from both the first and second floors.
A Better High-Wall Paint Job Starts With the Reach Plan
So, how do you paint high walls and still achieve a smooth, professional-looking finish? Plan how every area will be reached before painting, complete repairs and cleaning first, work from the highest areas downward, use extension poles whenever practical, and keep each painted section connected with a wet edge. Avoid overreaching or improvised access setups simply to reach one difficult corner. When the room includes very tall foyers, vaulted spaces, stairwells, or other areas that require specialized equipment, experienced painters in ballantyne nc can handle the preparation, access, and application while keeping the finish consistent from floor to ceiling.