
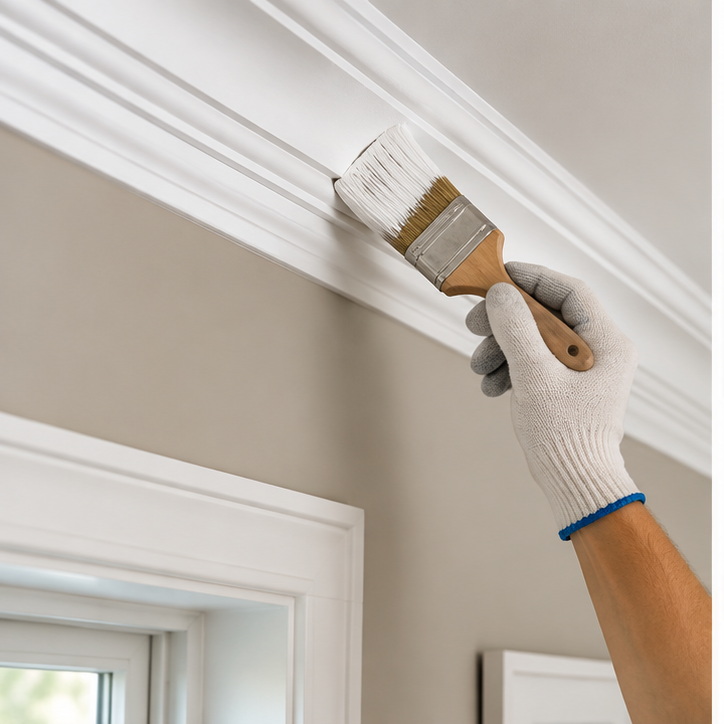
If you are wondering how do you paint crown molding without leaving brush marks, drips, uneven edges, or obvious gaps, the quality of the preparation matters just as much as the final coat. Crown molding sits directly between the wall and ceiling, which means imperfections are easy to notice, especially when light hits the trim from windows or ceiling fixtures.
A professional-looking result usually involves cleaning the molding, repairing nail holes and gaps, lightly sanding the existing finish, priming where necessary, and applying thin coats with a quality angled brush. The goal is not to load the molding with paint. It is to create a smooth, consistent finish while maintaining the detail of the profile.
Inspect the Crown Molding Before Painting
Start by looking closely at the entire run of molding.
Check for:
- Cracked or separated caulk
- Nail holes
- Dents and gouges
- Peeling paint
- Rough previous brush marks
- Gaps at corners
- Dust and grease
- Glossy surfaces that may need deglossing
Crown molding can look acceptable from floor level while still containing imperfections that become obvious after a new semi-gloss or satin coating is applied.
If you are working with molding for the first time, Century Painting’s guide explaining what is crown molding provides useful background on how this architectural trim is used.
Clean the Surface Before Sanding
Dust collects along the upper profiles of crown molding where routine cleaning often misses it.
Remove loose dust first with a clean cloth or vacuum attachment. If there is grease, smoke residue, or other contamination, clean the molding with a suitable mild cleaner and let it dry completely.
Painting directly over contamination can interfere with adhesion and may create uneven areas in the finish.
Fill Nail Holes and Repair Imperfections
Use a suitable filler for nail holes, dents, and minor surface defects.
Allow the filler to dry, then sand it until the repair is flush with the surrounding molding.
Run your fingertips across repaired areas. Your hand can often detect a raised patch that is difficult to see.
Caulk the Wall and Ceiling Joints
Small gaps frequently appear where crown molding meets the wall or ceiling.
Use a paintable caulk where appropriate and smooth the bead carefully.
Do not apply a thick line simply to hide a poorly fitted joint. Excessive caulk can create a rounded, uneven edge that becomes more noticeable after painting.
How Do You Paint Crown Molding That Is Already Glossy?
Existing crown molding is often coated with satin, semi-gloss, or gloss paint.
New paint may have difficulty bonding to a slick surface if it is not prepared correctly.
Lightly sanding or deglossing the existing coating can help create a more receptive surface. Concentrate on smoothing old brush marks and dulling excessive gloss rather than stripping every layer.
Remove sanding dust thoroughly afterward.
Decide Whether Primer Is Necessary
Not every repaint requires complete priming.
Primer becomes particularly useful when you have:
- Bare wood or MDF
- Filled repairs
- Stains
- Significant color changes
- Areas sanded through to the substrate
- Questionable adhesion
- An incompatible previous coating
Use a primer recommended for the molding material and the paint system you plan to apply.
Choose a Paint Designed for Trim
Crown molding generally looks best with a durable trim coating that levels well.
Satin and semi-gloss are popular choices because they create visual separation between the molding and flatter wall or ceiling surfaces.
Current professional painting guidance also favors trim enamels with good leveling characteristics because they help reduce visible brush marks.
Avoid assuming that the same flat wall paint is automatically the best choice for molding.
Use a Quality Angled Brush
A 2-inch or 2½-inch angled sash brush provides good control around detailed profiles and along the ceiling and wall edges.
Do not overload the brush.
Dip only part of the bristles into the paint and remove excess before bringing it overhead.
This reduces dripping and prevents paint from collecting in grooves.
How Do You Paint Crown Molding Without Brush Marks?
If you want to know how do you paint crown molding smoothly, focus on working in controlled sections.
Start at one end and paint a few feet at a time.
A useful sequence is:
- Paint the upper edge.
- Work paint into the decorative profile.
- Paint the broader face.
- Finish the lower edge.
- Lightly smooth the section with long strokes.
Maintain a wet edge as you continue along the molding.
Avoid repeatedly brushing an area once the paint has begun setting. Overworking partially drying paint is one of the easiest ways to create visible ridges and brush marks.
Watch Decorative Grooves for Paint Buildup
Crown molding often includes recessed details where excess paint naturally collects.
Check these areas frequently.
A heavy accumulation can dry into a visible sag or obscure fine architectural details.
Two controlled coats generally produce a better result than one thick application.
Follow the manufacturer’s recommended drying and recoat times.
What Order Should You Paint the Room?
When repainting the entire room, a practical sequence is:
- Ceiling
- Crown molding
- Walls
- Remaining trim
Painting crown molding before the walls can make it easier to produce a crisp lower edge when the wall color is applied afterward.
If you are painting only the crown molding, carefully cut along both edges or use painter’s tape where appropriate.
Inspect the Finish in Different Lighting
Once the paint has dried, look at the molding from several positions in the room.
Side lighting can reveal:
- Missed sections
- Thin coverage
- Brush ridges
- Drips
- Visible filler
- Uneven caulk
- Paint on adjoining surfaces
Correct these details before considering the project finished.
A Smooth Crown Molding Finish Starts Before the Paint
So, how do you paint crown molding so that it looks clean and professionally finished? Start with a sound, smooth surface. Clean the trim, repair defects, caulk appropriate gaps, dull glossy coatings, prime where necessary, and apply thin finish coats with a quality angled brush. Careful preparation preserves the sharp architectural profile while helping the final coating look uniform from one end of the room to the other. If crown molding is part of a larger interior update involving ceilings, walls, doors, or trim, experienced interior painters charlotte nc can coordinate the preparation and painting for a consistent finish throughout the room.