
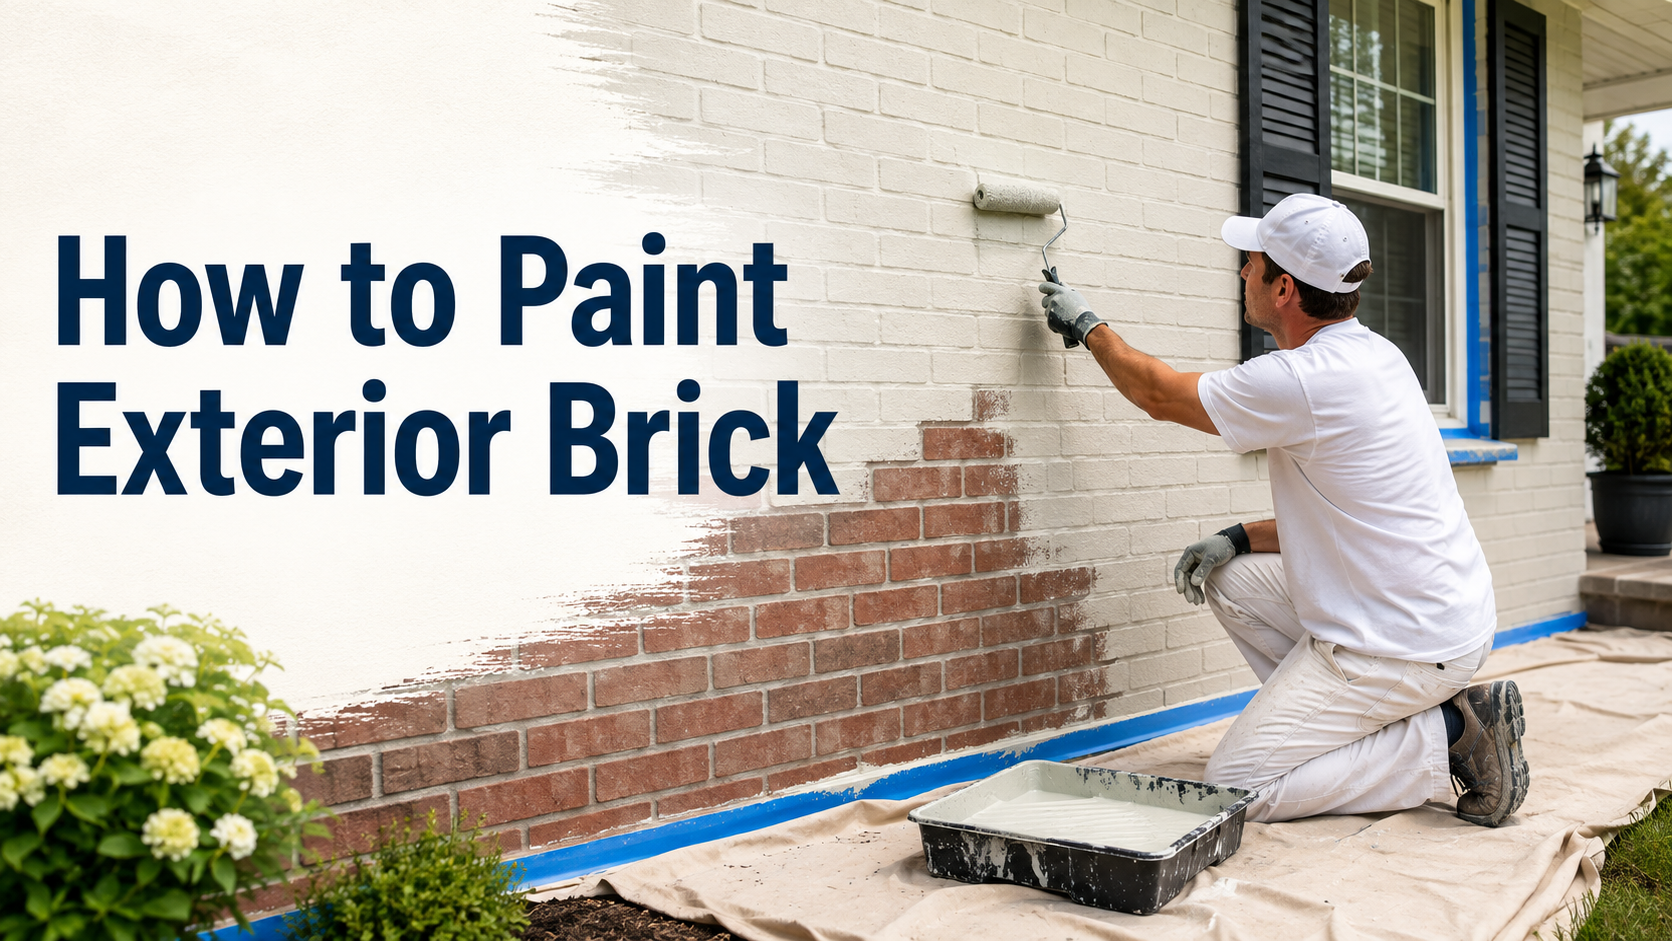
Learning how to paint exterior brick correctly is mostly about preparation, moisture control, and choosing coatings made specifically for masonry. Brick is porous, so simply applying ordinary exterior paint can lead to peeling, blistering, trapped moisture, and unnecessary maintenance. The best results come from cleaning the masonry thoroughly, repairing damaged areas, allowing the brick to dry completely, applying the correct masonry primer, and finishing with a breathable coating suitable for brick.
Painting can dramatically update the appearance of a brick home, but it is also a long-term decision. Once brick has been painted, maintaining that finish becomes part of the home’s exterior maintenance routine.
Should You Paint Exterior Brick?
Before opening a can of paint, consider whether painting is the right choice for the brick itself.
Traditional brick is naturally durable and porous. Moisture vapor can move through the masonry rather than remaining trapped behind its surface. Applying the wrong type of paint can interfere with that process.
Potential problems associated with poorly painted brick include:
- Peeling or bubbling paint
- Moisture trapped within masonry
- Mold or mildew behind the brick veneer
- Flaking or deterioration of the brick surface
- Increased exterior maintenance
- Difficult paint removal if you later prefer natural brick
That does not mean brick should never be painted. It means the condition of the wall and the coating system need to be considered carefully before the work begins.
Older brick, previously painted brick, damaged mortar, and homes with known moisture problems deserve especially careful evaluation.
Consider Alternatives Before Painting
If your main goal is changing the color rather than creating a completely opaque painted surface, other masonry finishes may be worth considering.
These can include:
- Limewash
- Brick stain
- Mineral masonry coatings
- Mortar wash
- German smear
Limewash and some mineral finishes can preserve more of the brick’s natural texture and vapor permeability. Brick stain changes the color while allowing much of the original masonry character to remain visible.
If you want a completely uniform, painted appearance, however, a properly prepared masonry coating may still be the better option.
What You Need Before Painting Exterior Brick
Having the correct tools and materials available before starting can prevent rushed decisions later.
Depending on the condition and size of the property, you may need:
- Exterior masonry cleaner
- Scrub brush
- Garden hose or pressure washer
- Wire brush or scraper
- Masonry repair materials
- Mortar repair compound
- Exterior-grade masonry caulk
- Drop cloths
- Plastic sheeting
- Painter’s tape
- Masonry primer
- Breathable exterior masonry paint
- Paintbrushes
- Heavy-nap masonry rollers
- Extension poles
- Paint sprayer for larger projects
- Appropriate ladders or access equipment
The exact products should be chosen according to the brick condition, previous coatings, weather exposure, and paint manufacturer’s specifications.
Step 1: Inspect the Brick Before Painting
One of the most important parts of understanding how to paint exterior brick is knowing when not to start painting.
Walk around the property and inspect the walls carefully.
Look for:
- Crumbling mortar
- Spalling or flaking brick
- Efflorescence
- Cracks
- Loose masonry
- Mold or mildew
- Water stains
- Damaged caulking
- Existing peeling paint
- Areas where water regularly contacts the wall
Painting should not be used to hide an active masonry or moisture problem.
For example, persistent staining beneath gutters may indicate drainage problems. Cracks around windows could require repairs rather than simply being covered with paint.
Resolve these issues before coating the surface.
Check Previously Painted Brick Carefully
If the brick has already been painted, inspect the existing coating for adhesion.
Loose, blistered, chalking, or peeling paint should be removed before repainting. Applying a new coating over failing paint usually transfers the underlying problem to the new finish.
Step 2: Clean the Brick Thoroughly
Paint needs a clean, stable surface to bond properly.
Exterior brick can accumulate years of:
- Dust
- Dirt
- Pollen
- Mildew
- Algae
- Cobwebs
- Pollution
- Chalky residue
- Organic growth
Depending on the condition of the wall, cleaning may involve brushing, masonry cleaning products, washing with soap and water, or carefully pressure washing the surface.
Be Careful With Pressure Washing
Pressure washing can be effective, but excessive pressure can damage brick faces or deteriorated mortar joints.
Older masonry may require a much gentler cleaning method.
Work from a safe distance and use only enough pressure to remove contamination without damaging the substrate.
Step 3: Let the Brick Dry Completely
This is one of the most important steps and one of the easiest to rush.
Brick absorbs water. Even when the surface appears dry, moisture may remain within the masonry.
Painting too soon can trap that moisture beneath the coating.
After washing, allow plenty of drying time before moving forward. Weather, humidity, shade, temperature, and the porosity of the brick all affect how quickly masonry dries.
A period of approximately 24 to 48 hours may be sufficient under favorable conditions, but some brick can require longer.
If there has been rain or the wall remains damp, postpone painting.
Step 4: Repair Brick, Mortar, and Cracks
Once the wall is clean and dry, complete necessary repairs.
Small defects are much easier to correct before primer and paint have been applied.
Areas that may require attention include damaged mortar joints, holes, minor cracks, deteriorated caulk, and loose material around openings.
Remove unstable material before repairing it.
Do Not Treat Every Crack the Same Way
Very small cosmetic cracks may be relatively straightforward to repair. Larger cracks, recurring cracks, stair-step cracking through mortar, or substantial movement can point to issues that should be inspected before painting.
A coat of paint should never be used as a substitute for masonry repair.
Step 5: Protect Windows, Doors, Roofing, and Landscaping
Brick painting can involve significant overspray and splatter, especially when rollers or sprayers are being used.
Before priming, protect adjoining surfaces such as:
- Windows
- Doors
- Trim
- Light fixtures
- Roofing
- Concrete
- Decking
- Plants
- Outdoor furniture
Use masking materials, painter’s tape, plastic sheeting, and drop cloths where appropriate.
Professional preparation often takes considerably longer than the actual application of paint, but this stage plays a major role in the quality of the finished project.
Step 6: Apply a Masonry Primer
Brick should not be treated like wood siding or drywall.
Use a primer formulated specifically for masonry surfaces when the selected coating system requires one.
Masonry primers can help:
- Improve adhesion
- Create more uniform absorption
- Stabilize porous surfaces
- Improve coverage
- Prepare mortar and brick for the finish coating
Work primer into mortar joints and textured areas rather than simply coating the outermost face of the brick.
Pay Attention to Deep Mortar Joints
Brick surfaces contain numerous recesses where thin or incomplete coverage can occur.
Use a brush to work primer into corners, mortar joints, and irregular areas that a roller may not reach adequately.
After priming, allow the surface to dry according to the manufacturer’s instructions.
Step 7: Choose the Right Paint for Exterior Brick
Choosing the coating is just as important as preparing the wall.
Standard exterior paint is not automatically appropriate for masonry.
Look for a product specifically intended for exterior masonry or brick and compatible with the primer you have selected.
A quality masonry coating should provide the appropriate balance between durability, adhesion, weather resistance, and vapor permeability.
This matters because brick naturally interacts with moisture.
Homeowners who are unsure which coating system is suitable may benefit from speaking with experienced residential painters Charlotte NC homeowners can consult before permanently changing a brick exterior.
Step 8: Apply the First Coat
Begin painting at the top of the wall and work downward.
Working from top to bottom helps manage drips and allows you to maintain a consistent wet edge.
Use a brush around:
- Windows
- Doors
- Corners
- Fixtures
- Edges
- Deep mortar joints
A heavy-nap roller can work well across larger textured areas.
For substantial brick elevations, professional painters often use spray equipment followed by back-rolling or brushing where necessary to help achieve consistent coverage.
Do Not Apply the Paint Too Thinly
Brick has a rough and highly textured surface.
You may need more paint than you would expect when compared with smoother siding materials.
Pay particular attention to mortar joints and small cavities where uncovered areas are easy to miss.
Step 9: Allow Proper Drying Time
Do not rush the second coat.
Follow the coating manufacturer’s specified recoat time while also considering the weather.
Temperature, direct sunlight, humidity, and wind can influence drying.
Avoid exterior painting when rain is approaching or when temperatures fall outside the coating manufacturer’s recommended application range.
Step 10: Apply the Second Coat and Inspect the Surface
Many exterior brick projects benefit from a second finish coat.
The second coat helps improve:
- Color consistency
- Coverage
- Durability
- Resistance to weather exposure
- Appearance across brick and mortar
Once the coating dries, inspect the exterior from multiple angles and distances.
Look specifically around mortar joints, window edges, corners, utility penetrations, and textured areas where small missed spots frequently occur.
Complete touch-ups before removing masking materials.
Common Exterior Brick Painting Mistakes
Even premium paint cannot compensate for poor preparation.
Several mistakes commonly shorten the service life of painted masonry.
Painting Damp Brick
This is one of the biggest problems.
Moisture beneath the coating can contribute to bubbling, peeling, and deterioration.
Skipping Surface Preparation
Painting directly over dirt, mildew, loose mortar, or failing coatings prevents the new coating from developing a reliable bond.
Using the Wrong Paint
A coating that works perfectly on wood siding may not be appropriate for porous brick.
Choose masonry-compatible products.
Ignoring Existing Water Problems
Leaks, poor drainage, deteriorated gutters, failed flashing, and other moisture sources should be corrected before brick is painted.
Painting New Masonry Too Soon
New masonry needs sufficient curing time before coatings are applied. The Brick Industry Association recommends waiting at least 28 days after completion of new brickwork before painting.
Always follow the specific requirements of the brick, mortar, primer, and coating manufacturer.
What Is the Best Way to Apply Paint to Brick?
The right application technique depends on the project’s size and the brick texture.
Brush
Brushes are excellent for mortar joints, edges, detail areas, and touch-ups.
Roller
A thick-nap roller works well on textured masonry and is practical for many DIY projects.
Sprayer
Spraying can make large exterior projects much faster, but proper masking and application technique become extremely important.
Professional projects may combine techniques, using spraying for efficient coverage and back-rolling or brushing to work material into uneven masonry.
How Long Does Painted Exterior Brick Last?
There is no universal repainting schedule.
The life of the coating depends on factors such as:
- Surface preparation
- Coating quality
- Brick condition
- Moisture exposure
- Sun exposure
- Climate
- Application technique
- Previous coatings
Well-prepared and properly coated brick may perform for many years, while poorly prepared masonry can begin failing relatively quickly.
Instead of repainting according to a rigid calendar, inspect the surface periodically for fading, chalking, peeling, cracking, or moisture-related problems.
Is Painting Brick a DIY Project?
Painting a small brick feature can be manageable for an experienced DIY homeowner.
Painting an entire brick house is significantly more demanding.
The difficulty comes from more than applying paint. Exterior masonry work can involve cleaning, repairs, moisture assessment, ladders, masking, large quantities of coating, difficult textures, and choosing compatible masonry products.
Professional help becomes especially worthwhile when:
- The property has multiple stories
- The brick is deteriorating
- Existing paint is peeling
- Moisture problems are present
- Extensive mortar repair is needed
- Spray application is required
- The home has large or difficult-to-access elevations
Painted Brick Requires Ongoing Maintenance
Natural brick is prized partly because it requires relatively little cosmetic maintenance.
Once it is painted, the coating itself becomes a maintenance surface.
Inspect painted brick periodically for:
- Peeling
- Blistering
- Cracking
- Fading
- Mildew
- Caulk failure
- Moisture staining
- Damaged mortar
Addressing small areas early can help prevent larger sections of the coating from deteriorating.
Final Thoughts on How to Paint Exterior Brick
Knowing how to paint exterior brick correctly means understanding that most of the work happens before the first finish coat is applied.
The ideal process is straightforward: inspect the masonry, correct moisture problems, clean the brick, let it dry thoroughly, repair damaged areas, apply an appropriate masonry primer, and finish with a coating designed for exterior brick.
The two things you should never rush are surface preparation and drying time. Brick’s porous structure makes moisture management particularly important. When the correct preparation, products, weather conditions, and application techniques come together, painted brick can dramatically change the appearance of a home while producing a clean, cohesive exterior finish.