
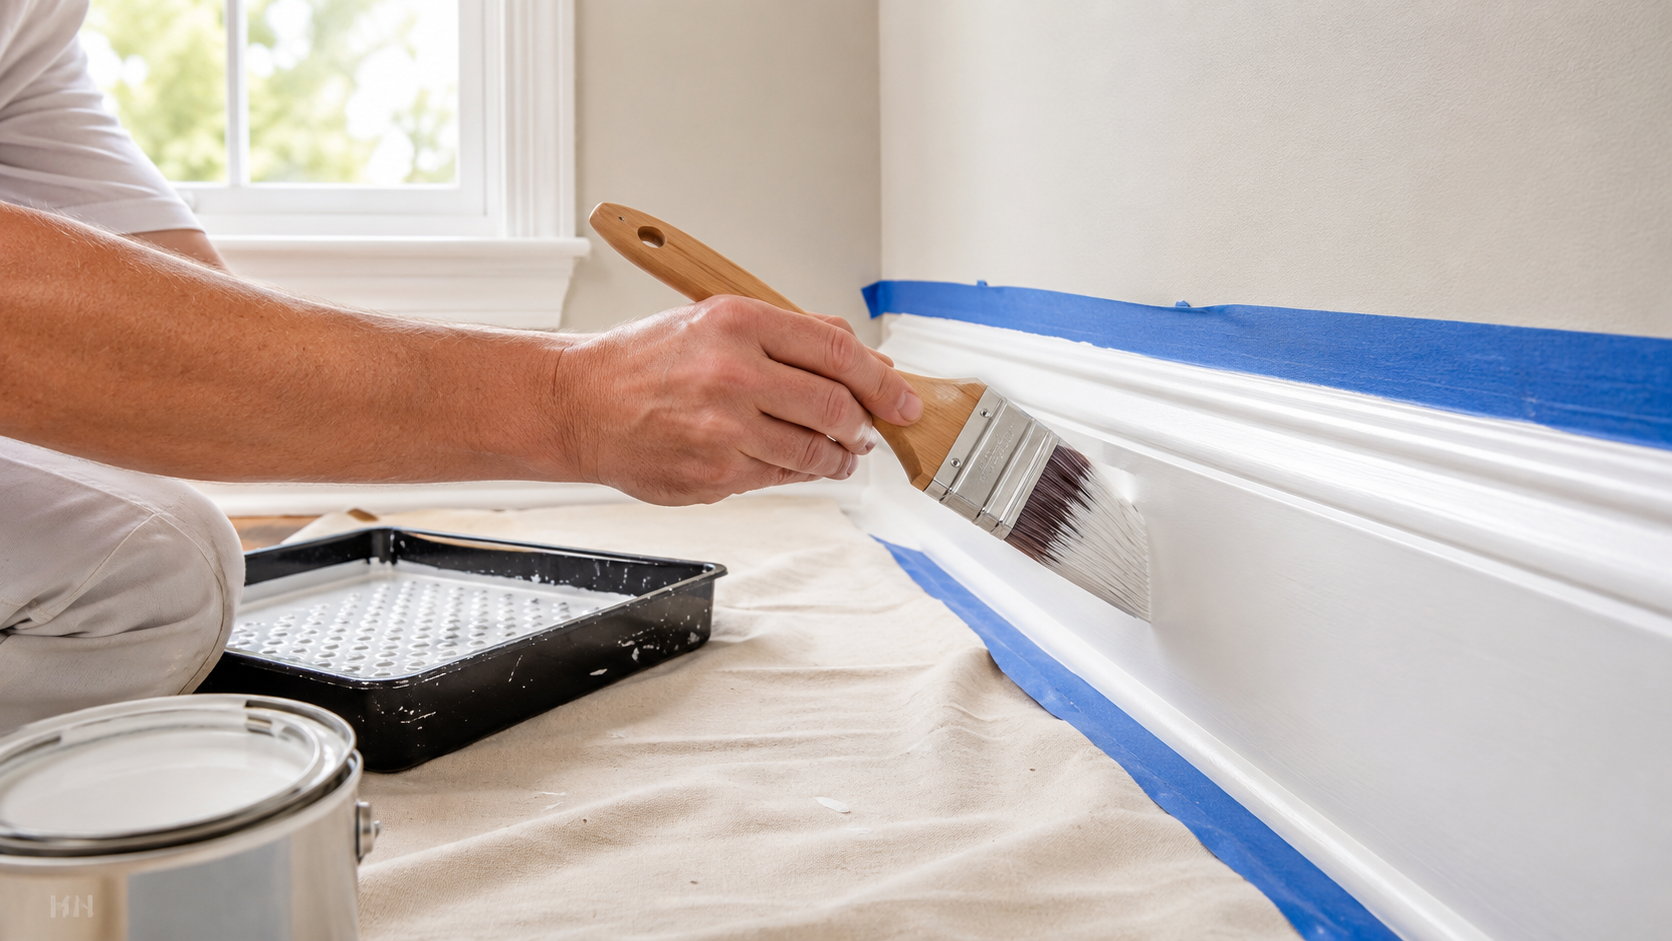
Freshly painted trim can make an entire room look cleaner and more finished, even when the wall color stays exactly the same. Baseboards, window casings, crown molding, and door frames take plenty of everyday abuse, though, so getting a smooth result requires more than brushing another coat over whatever is already there.
If you are learning how to paint trim, concentrate first on the condition of the existing surface. Clean it thoroughly, repair dents and nail holes, smooth rough or glossy areas, prime where the surface requires it, and then apply a suitable trim paint with controlled brush strokes. The preparation may take longer than the painting itself, but it is usually what separates crisp-looking trim from a finish filled with bumps, drips, visible repairs, and old imperfections.
Start by Inspecting the Trim You Already Have
Before buying paint, look closely at what you will actually be coating. New unfinished wood, previously painted baseboards, stained woodwork, MDF molding, and PVC trim should not automatically be treated in exactly the same way.
Check for loose paint, dents, open joints, nail holes, grime, glossy surfaces, rough previous brush marks, and areas where the existing coating has been damaged. If the trim is fundamentally sound, most problems can be addressed during preparation. Trim that is badly swollen, rotten, broken, or separating from the wall may need repair or replacement before painting makes sense.
The material also matters. Benjamin Moore, for example, provides different primer recommendations for wood, MDF, vinyl, and PVC or plastic trim, particularly where additional adhesion is needed.
Gather the Right Tools Before You Begin
Trim painting does not require a huge collection of equipment, but good tools make precise work considerably easier.
For most interior projects, you may need:
- A quality 2- to 2½-inch angled brush
- Trim paint in the appropriate finish
- Primer when required
- Painter’s tape
- Drop cloths or floor protection
- Fine or medium-grit sandpaper
- A sanding sponge for detailed molding
- Spackling compound or suitable wood filler
- Paintable caulk for appropriate gaps
- A putty knife
- Clean cloths or a damp sponge
- A small paint container or tray
Both Sherwin-Williams and BEHR recommend an angled brush in roughly the 2- to 2½-inch range for trim because the shape provides better control along narrow edges and corners.
Clean the Trim Before You Sand or Paint
Baseboards and door frames often look clean from standing height but collect more contamination than homeowners realize. Dust settles along horizontal edges, while lower trim can pick up dirt from shoes, vacuum cleaners, pets, cleaning products, and ordinary household activity.
Painting over this buildup can leave a rough finish and may interfere with adhesion, so wipe the trim clean before moving on to repairs and sanding.
Pay particular attention to baseboards near kitchens, bathrooms, entrances, and high-traffic areas, where residue is more likely to accumulate.
Repair Nail Holes, Dents, and Gaps Before Painting
Paint adds color; it does not make damaged trim disappear. In fact, a fresh satin or semi-gloss finish may make imperfections easier to notice because light reflects across the surface.
Small nail holes and dents should be filled with a product appropriate for the trim material and allowed to dry before being smoothed. Sherwin-Williams’ current trim guidance similarly recommends filling holes, dents, and cracks before sanding the repaired areas smooth.
Know When Caulk Is Appropriate
Small joints where painted trim meets a wall or another piece of molding may sometimes benefit from paintable caulk, creating a cleaner visual transition. Caulk should not, however, be treated as a substitute for repairing damaged wood or filling every opening indiscriminately.
Apply it neatly and give it the required drying or curing time stated by the manufacturer before painting.
Sand for Smoothness and Adhesion, Not Simply Because You Can
Sanding serves two different purposes when painting trim. It can smooth rough surfaces and old imperfections, but it can also dull a glossy existing finish so that the next coating has a more suitable surface to bond to.
You do not necessarily need to aggressively sand every inch of perfectly sound trim. The amount of preparation should match the condition of the surface.
Sherwin-Williams recommends lighter sanding for smooth trim and progressively coarser preparation when old trim is rough or worn. Its broader surface-preparation guidance also recommends dulling glossy or nonporous finishes before repainting.
After sanding, remove the dust carefully. Leaving fine sanding residue behind defeats much of the purpose of creating a clean, smooth surface.
Does Trim Always Need Primer?
No. Primer is valuable, but treating it as mandatory for every repaint can add work that is not always necessary.
It becomes particularly important when you are dealing with bare areas, repairs, certain difficult-to-bond surfaces, or materials for which the coating manufacturer specifies a primer. Previously coated trim that is sound, compatible with the new paint, and properly prepared may have different requirements.
Sherwin-Williams recommends primer over bare wood and repaired areas in its trim-painting process, while Benjamin Moore specifies different primer systems depending on whether trim is wood, MDF, vinyl, or PVC.
Rather than relying on a universal rule, check the label or technical guidance for the primer and finish paint you intend to use.
Lightly Smooth the Primer if Necessary
After the primer has dried for the time specified by its manufacturer, inspect it under good lighting. Brush marks, raised fibers, or small imperfections can often be lightly smoothed before the finish coat is applied.
Remove every trace of sanding dust before continuing.
Choose Trim Paint for Durability as Well as Appearance
Trim experiences frequent touching, cleaning, scuffing, and impact, particularly around doors and baseboards. For that reason, coatings intended for trim are generally designed to provide a harder and more washable finish than many standard low-sheen wall paints.
Semi-gloss remains a popular option, but it is not the only choice. Current trim products are available in satin, semi-gloss, and higher-gloss finishes depending on the product line and desired appearance. BEHR, for example, offers its current cabinet, door and trim enamel in satin and semi-gloss, while Sherwin-Williams’ trim guidance includes semi-gloss and high-gloss options.
Keep in mind that increasing the sheen can also make dents, rough repairs, and uneven brushwork easier to notice, which makes careful preparation even more important.
How to Paint Trim Without Leaving Heavy Brush Marks
Once the trim is clean, smooth, repaired, and properly primed where necessary, the actual application becomes much easier.
Stir the paint thoroughly and load only part of the brush rather than burying the entire set of bristles in paint. Removing excess paint before reaching the trim gives you more control and reduces the likelihood of runs.
Work in manageable sections instead of coating an entire baseboard as quickly as possible. Sherwin-Williams recommends first spreading paint across a short section and then smoothing those marks with a longer finishing stroke, while BEHR similarly advises long, continuous strokes along the length of the trim.
Maintain a Wet Edge
Try to finish one section while the adjoining paint is still workable. Continually brushing back into areas that have already begun setting can create texture and visible drag marks.
Apply enough paint to cover the surface properly, but avoid overloading it in an attempt to achieve complete coverage in one heavy coat. When another coat is required, allow the first one to dry for the manufacturer’s specified recoat time.
Should You Paint the Trim or Walls First?
There is no single sequence that every professional painter must use because the best order can depend on the room, the amount of preparation required, and how the surfaces will be masked.
When both walls and trim are being repainted, many painters prefer completing the trim first, allowing it to dry sufficiently, and then masking it before painting the walls. Others complete the walls first and carefully cut in the trim afterward.
What matters more than following an arbitrary rule is having a planned sequence that avoids repeatedly damaging or contaminating newly painted surfaces.
For homeowners who would rather coordinate trim, walls, doors, preparation, and related work as a single project, professional house painting services charlotte nc can make it easier to manage the entire interior in the right order instead of treating each surface as a separate job.
Be Careful When Removing Painter’s Tape
Painter’s tape can create cleaner boundaries, but poor removal can undo otherwise careful work.
Current guidance from both Sherwin-Williams and BEHR recommends removing tape while the final paint is still wet rather than leaving it until the coating has hardened completely.
Follow the tape manufacturer’s instructions as well, particularly when working over recently painted walls or delicate surfaces. If paint has already dried across the tape edge, scoring the boundary carefully before removal can help prevent the coating from tearing away with the tape.
Avoid These Common Trim-Painting Mistakes
Most disappointing trim jobs are not caused by choosing the wrong white. They usually come from rushing preparation or application.
Watch out for problems such as painting over dirty trim, skipping repairs, leaving sanding dust behind, applying a heavy coat to save time, using a worn or low-quality brush, repeatedly brushing paint after it has begun drying, or ignoring the compatibility of an existing glossy coating.
Another common mistake is expecting fresh paint to create a perfectly smooth surface over years of old drips and poorly filled nail holes. The finish coat follows the surface underneath it, so spend time making that surface as clean and consistent as practical before painting.
Take Extra Precautions With Trim in Older Homes
Sanding and scraping deserve additional consideration when the home was built before 1978 because older painted components may contain lead-based paint.
The EPA advises homeowners planning renovation, repair, or painting work in pre-1978 homes to consider lead-safe practices because sanding, scraping, and other activities that disturb old coatings can create hazardous lead dust. Professional contractors performing covered work may also be subject to the EPA’s Renovation, Repair and Painting requirements.
Do not begin aggressively sanding unknown old coatings without considering whether lead-safe procedures are appropriate.
The Best Trim Finish Starts Before the Brush Comes Out
Learning how to paint trim is largely about learning how to prepare it properly. Cleaning, repairing imperfections, deciding whether sanding and primer are necessary, choosing an appropriate trim coating, and using controlled brushwork all contribute to a smoother and more durable result.
Take the time to inspect the trim before beginning rather than treating every baseboard and door casing the same way. Once the surface has been properly prepared, applying the paint becomes the straightforward part of the project. Whether you are refreshing slightly worn white baseboards or changing several rooms of older woodwork, a careful process will give you sharper lines, smoother surfaces, and trim that complements the rest of the room instead of drawing attention to the mistakes underneath.