
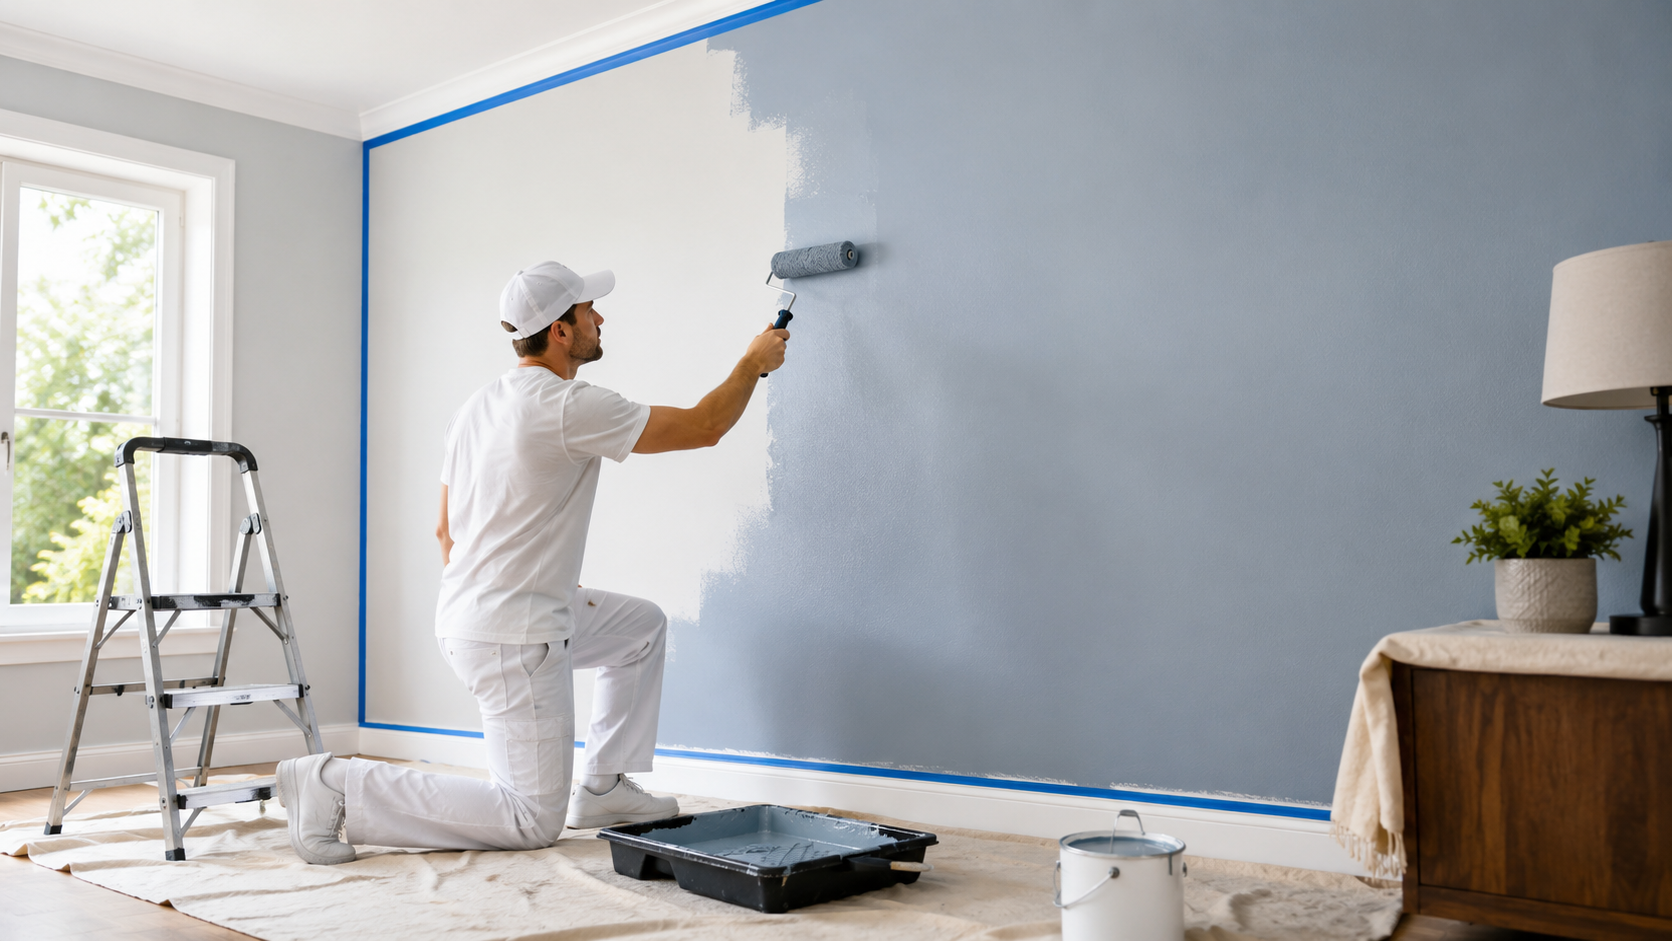
Learning how to paint walls properly involves much more than dipping a roller into a tray and spreading color across the surface. A professional-looking wall starts with inspection and preparation, followed by the right primer decision, correct roller selection, careful cutting in, and consistent application.
For most interior walls, the basic process is straightforward: clean the surface, repair imperfections, sand where necessary, prime problem areas, cut in around edges, roll the main wall while maintaining a wet edge, and apply a second coat after the first has dried.
The steps are simple, but the details determine whether the finished wall looks smooth and uniform or develops streaks, roller marks, flashing, and visible repairs.
Inspect the Wall Before You Start Painting
Before choosing brushes or opening the paint can, examine the condition of the wall.
Look closely for:
- Nail and screw holes
- Hairline cracks
- Dents and gouges
- Peeling or flaking paint
- Water stains
- Grease and dirt
- Glossy existing paint
- Poor previous repairs
- Mildew or moisture problems
Paint will not correct structural or surface problems. In fact, fresh paint can make some imperfections more noticeable because the new finish changes how light reflects across the wall.
Investigate Water Stains First
If you see brown, yellow, or irregular water stains, determine where the moisture came from before repainting.
Possible causes include plumbing leaks, roof leaks, window leaks, condensation, or moisture entering through an exterior wall.
Fix the moisture problem first. Otherwise, the stain or paint failure may return regardless of how well the wall is painted.
Gather the Right Painting Tools
Good tools make it much easier to achieve an even finish.
For a typical interior wall project, you may need:
- Quality interior wall paint
- Primer, if necessary
- 2 to 2½-inch angled paintbrush
- Roller frame
- Roller covers
- Extension pole
- Paint tray and liner
- Drop cloths
- Painter’s tape
- Putty knife
- Patching compound
- Fine-grit sandpaper or sanding sponge
- Clean cloths or sponges
- Ladder or step stool
- Paint stir stick
Choose the Correct Roller Nap
The surface texture should determine the roller cover.
For relatively smooth interior walls, a roller nap around ⅜ to ½ inch is commonly suitable. Rougher or stippled walls generally require a thicker roller so paint can reach recessed areas. Sherwin-Williams recommends ⅜ to ½-inch nap for smooth surfaces and thicker covers for rough or stippled surfaces.
Avoid choosing an extremely thick roller simply because it holds more paint. On a smooth wall, it can leave heavier roller texture than necessary.
Prepare the Room Before Painting
Move furniture away from the walls. If possible, remove smaller pieces from the room completely.
Cover anything that remains.
Protect the floor with drop cloths and remove:
- Outlet covers
- Switch plates
- Wall art
- Curtains where necessary
- Easily removable hardware
Place screws and small pieces together so they are easy to reinstall.
Use painter’s tape around surfaces that require protection, such as trim, baseboards, built-ins, or adjoining surfaces that will not be repainted.
Clean the Walls Thoroughly
One of the most overlooked parts of how to paint walls is cleaning.
Paint needs a clean surface to bond properly. Even walls that look clean may contain dust, fingerprints, cooking residue, oils, or other contaminants.
Sherwin-Williams recommends removing grime, cobwebs, dust, and stains before painting because contamination can interfere with adhesion.
Pay Extra Attention to Kitchens
Kitchen walls often collect invisible layers of grease and cooking residue.
Wash them using a suitable wall-cleaning method before painting.
Bathrooms May Need Additional Cleaning
Bathroom walls can accumulate moisture deposits, soap residue, and mildew.
Mildew should be properly treated rather than painted over.
After cleaning, allow the walls to dry completely.
Repair Holes, Cracks, and Dents
Wall repairs should be completed before primer or finish paint is applied.
Fill small nail holes and dents using an appropriate patching compound.
For larger drywall damage, additional joint compound and feathering may be required.
Once repairs have dried:
- Sand them smooth.
- Feather the repair into the surrounding wall.
- Remove sanding dust.
- Check the area under side lighting.
Run your hand over the repair. If you can easily feel its edge, there is a good chance you may see it after painting.
Remove Loose or Peeling Paint
Do not apply new paint directly over unstable paint.
Use a scraper to remove coatings that are already:
- Peeling
- Flaking
- Bubbling
- Poorly bonded
You usually do not need to remove every layer of old paint.
The goal is to remove unstable coatings and create a sound surface for the new finish.
After scraping, lightly sand the edges so there is not an obvious ridge between the remaining paint and exposed wall.
Be Careful in Older Homes
If your home was built before 1978, disturbing old painted surfaces through sanding or scraping may create lead-contaminated dust if lead-based paint is present. The EPA recommends lead-safe work practices for renovation and painting projects involving older painted surfaces.
Do You Need to Sand the Entire Wall?
Not necessarily.
A wall in good condition usually does not need aggressive sanding from floor to ceiling.
Light sanding can be useful when:
- The existing paint is glossy.
- Previous paint contains visible roller texture.
- Repairs need feathering.
- Small imperfections need smoothing.
- Drips or raised paint edges are present.
The objective is to improve smoothness and adhesion, not remove all the existing paint.
After sanding, remove the dust thoroughly before continuing.
Decide Whether the Wall Needs Primer
Primer is extremely useful, but not every previously painted wall requires a complete coat.
Benjamin Moore notes that previously painted walls may not always need primer, while unfinished drywall should be primed before finish paint is applied.
Consider primer when:
- Painting new drywall
- Covering large patches or repairs
- Changing from a very dark color to a light color
- Stains are present
- Bare drywall or plaster is exposed
- Existing paint is very glossy
- Adhesion is uncertain
- The surface absorbs paint unevenly
Spot Prime Small Repairs
When only a few wall repairs have been made, spot priming may be enough.
Without primer, patching compound may absorb finish paint differently from the surrounding wall, leaving dull or uneven areas.
Use Stain-Blocking Primer When Necessary
Ordinary wall paint may not permanently hide water, smoke, or other difficult stains.
Use a suitable stain-blocking primer after the cause of the staining has been corrected.
Choose Paint According to the Room
The best wall paint is not necessarily the same for every room.
Think about durability, cleaning requirements, lighting, and the condition of the walls.
Matte or Flat
Lower-sheen finishes reflect less light and can help disguise minor wall imperfections.
They work especially well in low-traffic bedrooms and spaces where frequent cleaning is less important.
Eggshell
Eggshell is a popular choice for living rooms, bedrooms, dining rooms, and general interior walls.
It provides a subtle sheen while offering more cleanability than many flat finishes.
Satin
Satin can be useful in higher-traffic spaces and areas that require more frequent cleaning.
However, additional sheen can make wall defects more noticeable.
Stir the Paint Before You Begin
Paint ingredients and pigments can settle during storage.
Stir the paint thoroughly before application, even if the can was recently shaken at the store.
If your project requires multiple cans of the same color, professionals sometimes combine them into a larger container before painting. This process, often called boxing the paint, can help minimize slight color differences between cans.
How to Paint Walls Step by Step
Once the preparation is complete, the actual painting process becomes much easier.
Step 1: Cut In Around the Wall
Use an angled brush to paint areas the roller cannot reach easily.
Cut in around:
- Ceiling lines
- Corners
- Windows
- Doors
- Baseboards
- Outlets
- Switches
A strip roughly 2 to 3 inches wide gives the roller enough space to approach the edge safely.
Try not to cut in an entire large room hours before rolling. If the brushed border completely dries before the wall is rolled, the difference in application method can occasionally become visible.
Working one wall or manageable sections at a time helps the finishes blend.
Step 2: Load the Roller Evenly
Pour paint into the tray and roll the cover through the paint.
Then run it across the textured portion of the tray several times.
The goal is an evenly saturated roller, not one dripping with paint.
An overloaded roller can cause:
- Drips
- Runs
- Heavy texture
- Paint splatter
An underloaded roller creates the opposite problem. You may press too hard and produce streaky coverage.
Step 3: Work in Manageable Sections
Start near the top of the wall and work across a section rather than jumping randomly around the room.
You can spread the paint using a loose W or M pattern and then fill the section, or work in overlapping vertical passes.
The exact pattern matters less than maintaining consistent coverage and keeping the adjoining edge wet.
Benjamin Moore recommends overlapping each row while using light pressure and working from new areas back toward the previously painted section to maintain a wet edge.
Step 4: Maintain a Wet Edge
This is one of the most important techniques for preventing lap marks.
Each new section should slightly overlap the previous section while the paint is still workable.
Avoid finishing half a wall and returning much later to complete the other half.
The dried and wet sections may reflect light differently.
Step 5: Use Light, Consistent Pressure
Do not force paint out of the roller.
If you need to press hard to get coverage, the roller needs more paint.
Excessive pressure can leave:
- Roller lines
- Edge ridges
- Uneven texture
- Thin areas
Let the roller and paint do most of the work.
Step 6: Finish With Consistent Roller Passes
Once a section has been covered, use light finishing passes in the same general direction.
This helps produce a more uniform texture across the wall.
Do not repeatedly roll over paint once it has started drying.
Paint that is beginning to set becomes less workable, and touching it again can create roller marks or uneven sheen.
Allow the First Coat to Dry Properly
Do not judge the wall while it is still wet.
Paint can look:
- Patchy
- Uneven
- Lighter in certain areas
- Darker around edges
during drying.
Allow the entire coat to dry according to the manufacturer’s specified recoat time before deciding whether correction is necessary.
Trying to repair wet paint often creates more visible defects.
Apply the Second Coat
A second finish coat is usually worth the effort.
It can improve:
- Color depth
- Coverage
- Sheen consistency
- Durability
- Hiding over repairs
- Overall appearance
Benjamin Moore recommends allowing the first coat to dry completely before applying the second.
Apply the second coat using the same controlled process: cut in, roll manageable areas, maintain a wet edge, and avoid excessive pressure.
How to Avoid Roller Marks and Streaks
Visible roller lines are usually caused by technique rather than the paint itself.
Common causes include:
- Poor roller loading
- Pressing too hard
- Using the wrong roller nap
- Allowing sections to dry before overlapping them
- Reworking partially dry paint
- Applying paint too thinly
- Skipping a needed second coat
Good lighting helps considerably.
Inspect the wall from different angles while working rather than only looking directly at it.
What Order Should You Paint a Whole Room?
If you are repainting more than the walls, a practical sequence is generally:
- Ceiling
- Walls
- Trim and detailed finishing work
Painting the ceiling first allows small splatters or overlaps on the upper walls to be covered later.
Whichever order you choose, allow adequate drying time before masking freshly painted surfaces.
Common Wall Painting Mistakes to Avoid
Even good paint can produce disappointing results if the process is rushed.
Avoid:
- Painting dirty walls
- Skipping necessary repairs
- Painting over loose coatings
- Ignoring water damage
- Using an unsuitable roller
- Applying excessively heavy coats
- Rolling partially dry paint
- Pressing too hard on the roller
- Skipping primer where it is actually needed
- Applying the second coat too soon
- Expecting paint to hide poor drywall repairs
Most professional-looking paint jobs owe their appearance to preparation and controlled application rather than a secret painting technique.
Better Preparation Makes Better Painted Walls
Understanding how to paint walls means treating painting as a complete process rather than simply applying color. Inspect the wall first, clean it thoroughly, repair imperfections, remove unstable paint, prime where necessary, and use the correct roller for the surface. When painting, work in manageable sections, maintain a wet edge, use consistent pressure, and allow each coat to dry properly. These steps can dramatically improve coverage and help prevent streaks, flashing, and visible roller marks. If you want the repairs, preparation, color application, and final detailing handled professionally, Century Painting & More provides experienced house painting services charlotte nc for homeowners throughout Charlotte and surrounding communities.