
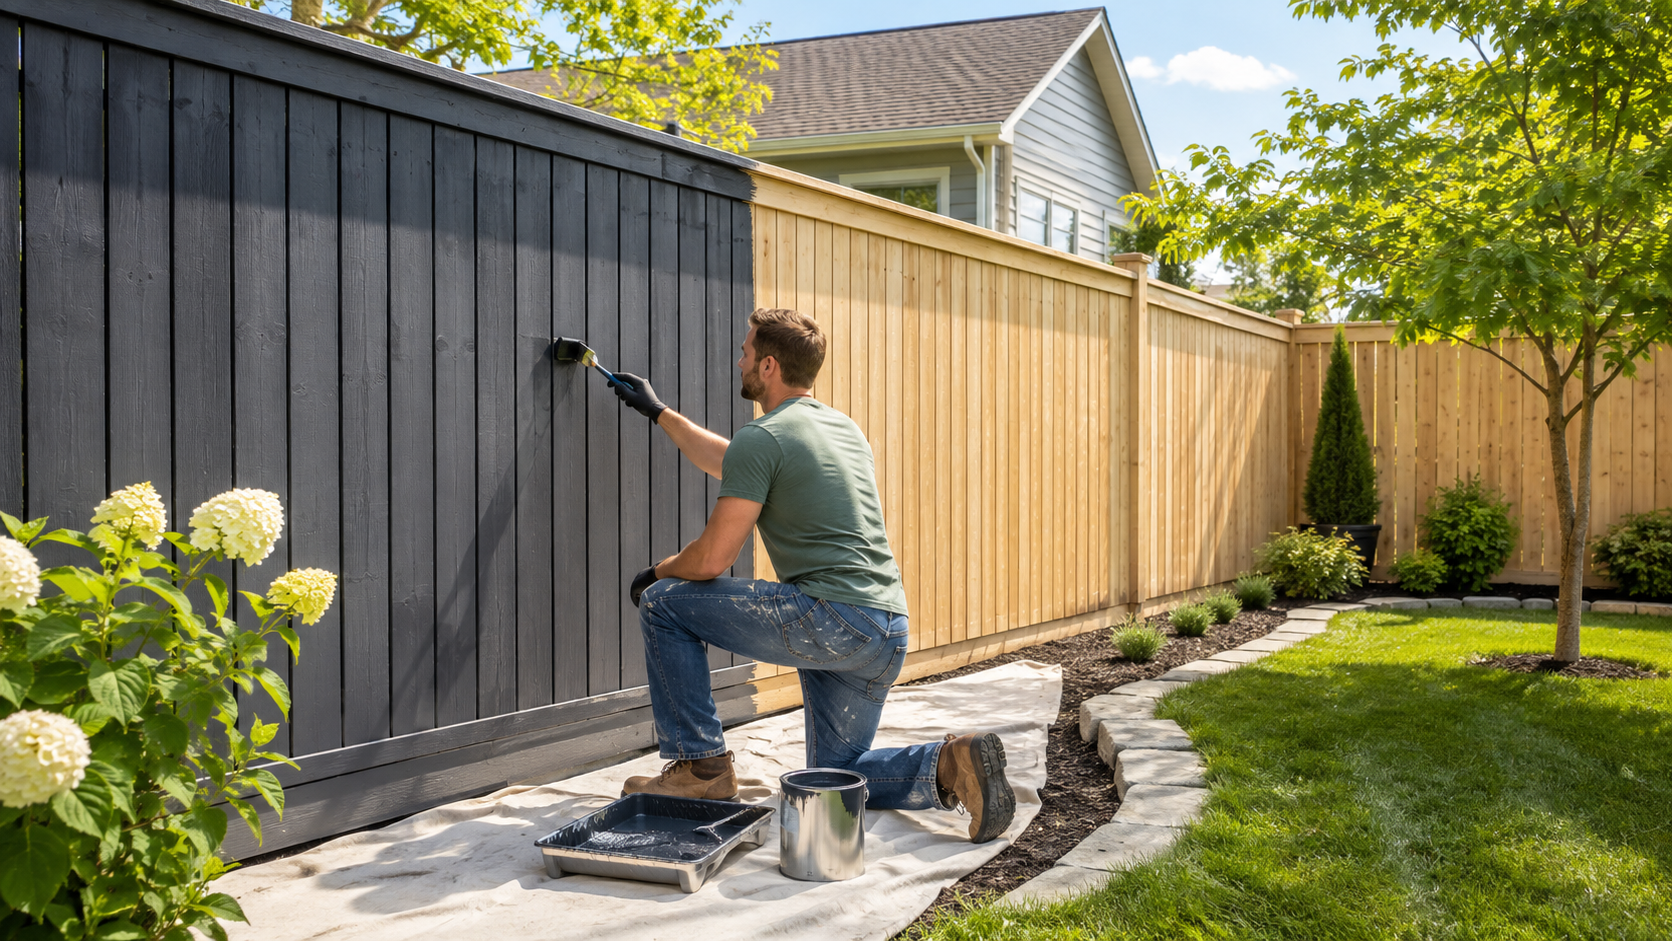
Painting a fence can completely change the appearance of a yard, but a lasting finish depends far more on preparation than on how quickly the paint goes on. Dirt, damp wood, peeling coatings, loose boards, unsuitable primer, and poor weather conditions can all undermine an otherwise good paint job.
If you are learning how to paint fence panels properly, begin by identifying the fence material and assessing its condition. Clean and repair the surface, allow it to dry completely, remove loose coatings, prime when the selected paint system requires it, and apply exterior paint in controlled coats under suitable weather conditions. Taking time with these early stages gives the finish a much better foundation.
First Decide Whether Paint Is Right for Your Fence
Before buying supplies, decide whether you actually want an opaque painted finish.
Paint works particularly well when you want a noticeable color change or prefer a uniform surface that hides most of the natural wood grain. Exterior stain is different because many stain products allow more of the wood’s texture and grain to remain visible.
Neither option is automatically better for every fence. The choice depends on the existing coating, condition of the wood, desired appearance, and amount of future maintenance you are comfortable with. Benjamin Moore currently recommends considering exterior stain for wood fencing, while Sherwin-Williams notes that paint provides a broader range of colors and a more dramatic visual transformation.
Identify What the Fence Is Made From
One of the most important parts of understanding how to paint fence surfaces is recognizing that “fence” does not describe a single material.
Wood is common, but homeowners may also have vinyl, PVC, or metal fencing. These materials do not necessarily use the same primer or paint system.
For this guide, the main process focuses on wood fencing. If you have vinyl or metal, check the coating manufacturer’s instructions before beginning. Benjamin Moore, for example, recommends different primer and paint systems for metal and vinyl fences.
Inspect the Fence Before Cleaning It
Walk along both sides of the fence and examine it closely before you start washing or sanding. Painting cannot correct structural deterioration, and covering damaged wood can make problems less obvious without actually solving them.
Look for:
- Loose boards or pickets
- Protruding nails or screws
- Cracks and damaged sections
- Rotten or soft wood
- Peeling or flaking paint
- Mildew or organic staining
- Heavy gray weathering
- Areas that remain unusually damp
- Failed repairs from previous work
Tighten loose fasteners and replace boards that are no longer structurally sound. Suitable cracks or small imperfections can be repaired with an exterior filler compatible with the wood and coating system.
Clean the Fence Thoroughly
Exterior fences collect far more than visible dirt. Pollen, dust, mildew staining, soil splash, algae, and deteriorated coating material can remain on the surface, especially in shaded or landscaped areas.
Painting over contamination reduces the quality of the surface you are asking the new coating to bond to.
Cleaning methods should match the condition of the fence. Some fences may need an appropriate exterior wood cleaner and scrubbing, while others can be carefully washed. If a pressure washer is used, avoid assuming that maximum pressure is better. Wood fibers can be damaged by overly aggressive washing.
BEHR’s current fence-paint preparation guidance calls for removing mold and mildew stains, addressing failing previous coatings, cleaning the wood, rinsing it thoroughly, and allowing it to dry completely before application.
Give the Fence Enough Time to Dry
This step is easy to underestimate.
The fence may appear dry on the surface while still retaining moisture deeper in the wood. Applying primer or paint too soon can interfere with adhesion and contribute to coating problems later.
Drying time varies with humidity, shade, temperature, recent rainfall, airflow, and how heavily the fence was cleaned. Instead of assuming it will be ready the next morning, evaluate the actual conditions and follow the requirements of the coating you plan to use.
Sherwin-Williams and BEHR both emphasize that wood should be clean and fully dry before painting.
Remove Loose Paint and Smooth Rough Areas
A previously painted fence needs more than washing if the old finish is cracking, peeling, or flaking.
Remove coatings that are no longer firmly attached and sand rough transitions so the new paint is not being applied over unstable material. Glossy existing coatings may also need to be dulled to improve the surface for repainting, depending on the product being used.
You do not necessarily need to strip every trace of sound existing paint. The objective is to create a clean, stable surface without leaving loose edges that are likely to fail beneath the new finish.
After sanding, remove all dust before moving on.
Protect Grass, Plants, and Nearby Surfaces
Fence painting becomes much easier when the work area is cleared in advance.
Cut back or temporarily tie away plants touching the boards, move outdoor furniture and decorations, and protect landscaping that cannot be moved. Drop cloths or suitable coverings can also protect patios, walkways, walls, and other surfaces from drips or overspray.
If the fence meets the side of the house, mask that junction carefully rather than relying on cleanup afterward.
Does a Wood Fence Need Primer?
Sometimes, but the answer depends on the wood and the paint system.
Bare or heavily repaired wood often benefits from an appropriate exterior primer, and some coating systems specifically require one. Other exterior products are formulated to be self-priming on properly prepared surfaces.
Wood species matter too. Cedar, redwood, cypress, and similar woods contain extractives that can discolor white or light-colored coatings. BEHR specifically recommends an appropriate stain-blocking primer for these woods when necessary to reduce bleed-through.
Instead of following a blanket rule such as “always prime” or “never prime,” check the technical instructions for the exact exterior paint you have selected.
Choose Paint Designed for Exterior Fencing
Interior wall paint does not belong on an outdoor fence.
Select a coating rated for exterior use and compatible with the material being painted. Fence paint needs to tolerate exposure to sunlight, rain, moisture, and temperature changes while maintaining adhesion to the substrate.
Also check the product’s instructions for:
- Acceptable application temperatures
- Required primer
- Recommended number of coats
- Recoat time
- Application method
- Rain-free period after painting
- Surface preparation requirements
These details vary between products, so instructions on the paint can or technical data sheet should take priority over a universal painting timetable.
How to Paint Fence Panels Evenly
Once preparation is finished, start at the top of the fence and work downward. This makes it easier to correct drips as you move.
For traditional vertical-board fencing, follow the direction of the boards with your finishing strokes. Horizontal rails can be painted in the direction of their grain.
Brush, Roll, or Spray?
Each method has advantages.
A brush gives excellent control around edges, gaps, posts, and detailed areas. A roller can speed up work on broad, relatively flat fence sections. Spraying can cover large areas efficiently but requires careful masking and technique.
If spraying or rolling textured wood, working the coating into the surface afterward may improve coverage. BEHR currently recommends back-brushing or back-rolling its barn and fence coating regardless of the primary application method.
Whichever method you choose, maintain a wet edge and avoid applying excessively heavy coats simply to finish faster.
Allow the First Coat to Dry Properly
More paint is not always better paint.
Apply the first coat at the recommended coverage rate and allow it to dry for the manufacturer’s specified recoat period. Temperature and humidity can alter drying time, so the clock alone should not be your only guide.
A second coat is often useful for consistent color and coverage, particularly when painting bare wood or making a significant color change. However, the exact number of coats should follow the requirements of the product rather than an arbitrary rule.
Choose the Right Weather Window
Outdoor painting should be planned around more than the absence of rain at the moment you start.
Look at the forecast for the entire application and initial drying period. Temperature, surface temperature, humidity, direct sunlight, and expected rainfall can all affect the finish.
For example, BEHR’s current barn and fence paint guidance specifies completely dry wood, an application range of 50°F to 90°F for that particular product, and no application when rain is expected within 24 hours. Benjamin Moore notes that acceptable temperature ranges vary by product and advises consulting the product instructions or technical data sheet.
The lesson is not to memorize one temperature range, but to follow the requirements of the coating you are actually using.
Avoid the Mistakes That Cause Fence Paint to Fail Early
Many disappointing fence projects can be traced back to shortcuts taken before or during application.
Common mistakes include painting damp wood, coating over loose paint, ignoring mildew or dirt, failing to repair damaged boards, applying paint too heavily, using an incompatible product, and working when rain or unsuitable temperatures are expected.
Another mistake is treating every older fence as a purely cosmetic project. If the underlying wood is deteriorating, painting cannot restore its strength.
Be Careful With Painted Fences at Older Homes
If your property was built before 1978 and an older painted fence may contain lead-based paint, sanding, scraping, and other preparation work deserves additional caution.
The EPA specifically identifies fences and porches as exterior locations where older lead-based paint may be found. Although federal RRP requirements differ for homeowners performing work on their own homes and paid contractors, the EPA recommends lead-safe practices because disturbing old coatings can create hazardous dust and paint chips.
If there is uncertainty about old paint, investigate the appropriate lead-safe approach before aggressive surface preparation begins.
When Professional Fence Painting Makes More Sense
Painting a short fence in good condition can be a manageable DIY project. A long perimeter fence with peeling coatings, extensive repairs, difficult landscaping, or several hundred individual boards is a different undertaking.
If the fence project is part of a larger exterior refresh, working with professional house painting services charlotte nc homeowners rely on can also make it easier to coordinate fence preparation with exterior walls, siding, trim, decks, or other painted surfaces.
Professional help can be particularly useful when substantial preparation, spraying, access issues, wood repairs, or uncertain existing coatings are involved.
A Better Fence Paint Job Starts With Better Preparation
Knowing how to paint fence panels successfully is less about mastering a complicated brush technique and more about getting the sequence right.
Inspect the fence first, repair what needs attention, remove contamination and failing coatings, let the wood dry, choose a compatible primer and exterior paint, wait for appropriate weather, and then apply the finish carefully. When those steps are handled properly, paint can do what it is supposed to do: give the fence a cleaner, more coordinated appearance while providing an exterior coating suited to everyday weather exposure.