
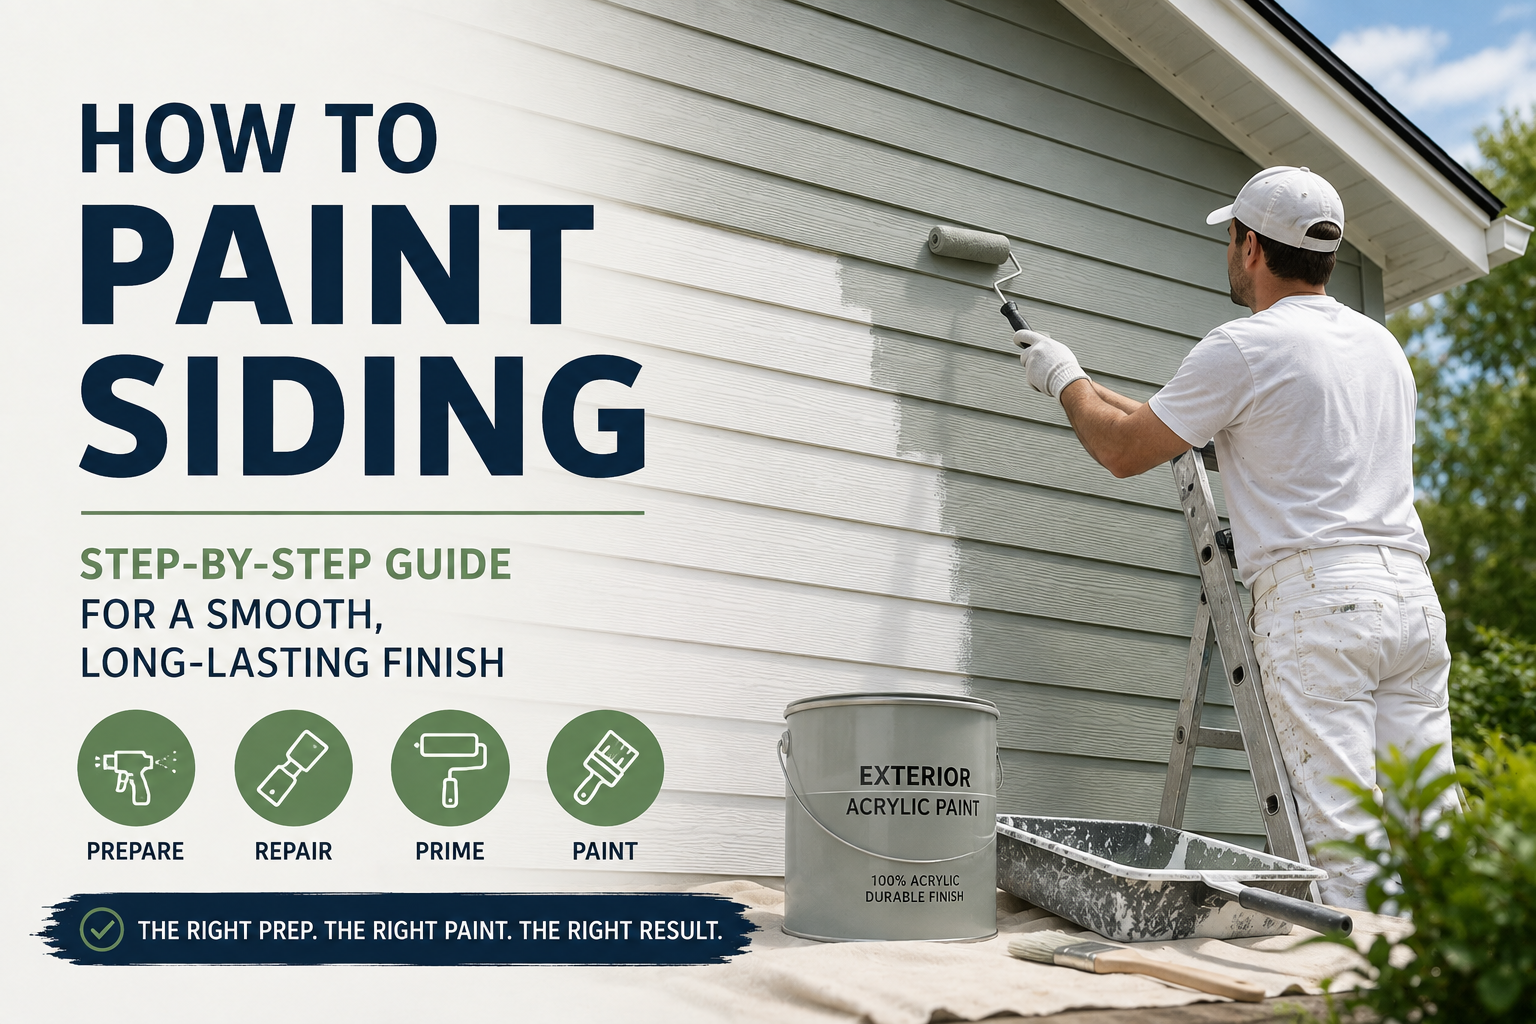
Knowing how to paint siding correctly can transform a faded exterior and help protect the materials underneath from weather, moisture, and everyday exposure. The most important part of the project, however, happens before the first coat of paint goes on.
Vinyl, wood, fiber cement, engineered wood, and aluminum siding all behave differently. A preparation method that works beautifully on wood may be unnecessary or even unsuitable for vinyl. That is why identifying the siding material, checking its condition, choosing compatible products, and preparing the surface correctly are essential to achieving a finish that lasts.
First, Decide Whether the Siding Should Be Painted
Painting can be an excellent option when siding is structurally sound but looks faded, weathered, or outdated.
It is not a substitute for major repairs.
Walk around the entire house before buying paint and look for:
- Rot or soft areas in wood siding
- Cracked or broken panels
- Warped vinyl
- Loose siding
- Water stains
- Failed caulk around windows and doors
- Mildew or algae
- Peeling or blistering paint
- Rust or oxidation on metal siding
Localized damage may be repairable before painting. Widespread deterioration, however, can make siding replacement more practical.
Painting over moisture damage or rot may temporarily improve the appearance, but it will not correct the underlying problem.
Know What Type of Siding You Have
The answer to how to paint siding changes considerably according to the material.
Vinyl Siding
Vinyl can usually be painted when it is clean, properly installed, stable, and in good condition.
One of the most important considerations is color selection. Traditional guidance warns against painting light vinyl with substantially darker conventional colors because greater heat absorption can contribute to warping. Modern coatings and specially formulated vinyl-safe color systems provide more choices, including selected darker colors designed for suitable vinyl substrates. Always follow both the paint and siding manufacturer’s requirements.
Wood Siding
Wood accepts paint very well, but it usually requires the most preparation.
Loose paint must be removed, exposed wood should be properly prepared, damaged sections repaired, and bare areas primed with a product suitable for the particular wood species.
Cedar and redwood may also require stain-blocking or appropriate exterior primers to control natural tannin bleed.
Fiber Cement Siding
Fiber cement is an excellent candidate for repainting when the siding remains sound.
James Hardie confirms that its siding is paintable and specifies an acrylic topcoat for pre-primed Hardie siding. Factory-finished products have their own maintenance and touch-up requirements, so manufacturer instructions should be checked before repainting.
Aluminum Siding
Older aluminum siding can often be successfully refreshed with paint.
The surface must first be thoroughly cleaned. Oxidation, chalking, loose coatings, and exposed metal require attention before the finish coat is applied.
Exterior acrylic coatings are available for a variety of siding materials, including wood, fiber cement, vinyl, and aluminum, but the substrate-specific preparation instructions remain important.
Clean Siding Before You Think About Painting
Exterior siding collects far more contamination than it may appear to.
Dust, pollen, road residue, mildew, dirt, spider webs, and other contaminants can form a layer between the siding and new paint. If they remain, even premium paint may struggle to bond properly.
Clean the exterior using a method appropriate for the siding material.
A garden hose, siding cleaner, soft-bristle brush, or carefully controlled pressure washing may be suitable depending on the condition of the surface.
Be Careful With Pressure Washing
More pressure is not necessarily better.
Excessive pressure can:
- Damage wood fibers
- Force water behind siding
- Leave marks in softer materials
- Damage loose caulking
- Introduce moisture into wall assemblies
When pressure washing is appropriate, work carefully and avoid directing water upward beneath overlapping siding.
Most importantly, allow the siding to dry thoroughly afterward.
Painting over damp siding is a common way to create adhesion problems later.
Protect the Areas You Are Not Painting
Once the exterior is clean and dry, prepare the surrounding area.
Cover or mask:
- Windows
- Exterior doors
- Light fixtures
- Electrical equipment
- Utility boxes
- Outdoor furniture
- Walkways
- Nearby landscaping where necessary
Move vehicles away from the work area, especially when spraying.
Plants should not remain tightly covered for long periods in warm weather. Cover them while necessary and uncover them as soon as practical.
Remove Loose Paint, Not Every Trace of Existing Paint
Previously painted wood, fiber cement, engineered siding, and metal may have areas where the existing coating is peeling.
Those loose sections should be removed.
The objective is not necessarily to strip the entire house. Sound, well-adhered paint can often remain in place.
Use an appropriate scraper to remove coatings that are:
- Flaking
- Peeling
- Blistered
- Cracked
- Poorly bonded
After scraping, feather rough paint edges with sanding so the transition between exposed siding and existing paint does not remain obvious beneath the new finish.
A Safety Note for Older Homes
Exterior preparation can create significant paint dust and debris.
If a home was built before 1978, lead-based paint may be present. EPA guidance warns that sanding, scraping, cutting, and similar renovation work on lead-painted surfaces can generate hazardous lead dust. Homeowners working on pre-1978 properties should determine whether lead is present and follow lead-safe procedures.
Repair the Siding Before Painting
This step is often what separates an ordinary repaint from a professional-looking exterior.
Look closely at the siding after cleaning and scraping because defects become much easier to see.
For Wood Siding
Repair or replace deteriorated boards rather than simply filling extensive rot.
Small appropriate repairs may be possible, but wood that has become soft or structurally compromised needs more than paint.
For Fiber Cement
Repair damaged areas according to the siding manufacturer’s specifications. Avoid improvised repairs that interfere with the material’s drainage or expansion requirements.
For Vinyl
Cracked, distorted, brittle, or badly warped panels should generally be repaired or replaced before painting.
Paint cannot restore the structural integrity of damaged vinyl.
Do Not Seal Every Gap With Caulk
Caulking can improve both weather resistance and appearance, but siding systems need to manage moisture correctly.
Suitable gaps around trim, windows, doors, and penetrations may require exterior-grade caulk. However, drainage openings and certain horizontal overlaps should remain open.
Sealing areas that were designed to release water can trap moisture behind the siding.
When in doubt, follow the siding manufacturer’s installation requirements rather than assuming every visible joint needs caulk.
When Does Siding Need Primer?
Primer requirements depend on the siding material and its condition.
You may need primer when:
- Bare wood is exposed
- Existing coatings have been extensively scraped
- Repairs or patches are present
- Metal is exposed
- Stains or tannins may bleed through
- The surface is porous
- The paint manufacturer specifically requires it
Previously painted siding in excellent condition does not always require complete priming.
For some properly prepared vinyl surfaces, manufacturer specifications may allow direct application of the approved exterior finish. Fiber cement and aluminum also have product-specific requirements, so checking the technical data for the selected coating is worth the effort.
Choose Paint for the Siding, Not Just the Color
One of the most important lessons in how to paint siding is that exterior paint should be selected for the actual substrate.
A high-quality 100% acrylic exterior coating is commonly used on several siding materials because it offers good flexibility, adhesion, and resistance to outdoor exposure.
Still, do not assume every exterior paint is suitable for every siding product.
Check the label or technical data sheet for compatibility with:
- Vinyl
- Wood
- Engineered wood
- Fiber cement
- Aluminum or other metal
For vinyl, pay particular attention to the approved color range and product system.
Choose the Right Weather for Painting
Good exterior paint still needs suitable conditions to cure correctly.
Avoid starting simply because the day looks sunny.
Check:
- Air temperature
- Surface temperature
- Humidity
- Rain forecast
- Direct sun exposure
- Overnight temperatures
Follow the temperature and moisture requirements printed on the specific paint you are using.
Try to avoid applying paint to extremely hot siding in strong direct sunlight. Moving around the house according to shade can sometimes provide better working conditions and help the coating maintain a more consistent wet edge.
How to Paint Siding Step by Step
Once preparation is complete, the actual painting process becomes much more straightforward.
Step 1: Start at the Top
Work from the upper sections downward.
This makes it easier to control drips and maintain a logical workflow.
Step 2: Paint Manageable Sections
Do not spread paint across an enormous area before finishing it.
Working in smaller sections helps prevent visible lap marks and gives you better control over coverage.
Step 3: Use the Right Application Method
Exterior siding can be painted with:
- Brushes
- Rollers
- Airless sprayers
- A combination of these methods
Spraying can cover large areas efficiently, but speed alone does not guarantee a better finish.
On certain siding types and textures, back-brushing or back-rolling sprayed paint helps work the coating into the surface and create more consistent coverage.
Benjamin Moore’s exterior guidance, for example, describes rolling sections of wood siding and then using a brush to feather the coating for a smoother result.
Step 4: Maintain a Wet Edge
Try to complete natural sections of the wall without allowing the edge of the previous section to dry completely.
This reduces lap marks and uneven sheen.
Step 5: Apply the Required Coats
Do not assume that one heavy coat is equivalent to two properly applied coats.
Follow the manufacturer’s specified spread rate, dry time, and number of coats.
Applying paint too thickly can actually create curing and durability problems.
Should You Spray or Roll Siding?
Both methods can produce excellent results.
Spraying Works Well When:
- The exterior has a large surface area.
- Masking can be done properly.
- The operator has experience controlling overspray.
- The siding profile is difficult to cover quickly by roller alone.
Rolling or Brushing Works Well When:
- More control is required.
- The home is close to neighboring properties.
- Overspray would be difficult to contain.
- Smaller siding sections are being painted.
Professionals frequently combine techniques instead of relying entirely on one method.
Mistakes That Can Shorten the Life of Siding Paint
A siding repaint may look good immediately but fail prematurely when important steps are skipped.
Avoid:
- Painting over dirty or chalky siding
- Painting wet surfaces
- Ignoring rotten or damaged siding
- Using incompatible coatings
- Choosing an unsuitable vinyl color
- Skipping necessary primer
- Painting in poor weather
- Applying excessively thick coats
- Failing to respect drying times
- Sealing drainage points with caulk
The durability of an exterior paint job is determined as much by preparation as by the finish coat itself.
Painting vs. Replacing Siding
Painting is usually worth considering when the siding remains structurally sound and the main problem is cosmetic.
It can restore color, improve curb appeal, and extend the useful appearance of the existing exterior.
Replacement may make more sense when there is:
- Widespread wood rot
- Extensive moisture damage
- Severely cracked or brittle vinyl
- Significant warping
- Repeated coating failure caused by underlying siding problems
- Large areas of damaged panels
A new coat of paint should protect good siding, not conceal siding that has already failed.
A Great Siding Paint Job Starts Long Before the First Coat
Understanding how to paint siding means looking beyond rollers, brushes, and color choices. The siding must first be identified, inspected, cleaned, repaired, prepared, and matched with a compatible coating system. Taking those steps can produce a smoother finish and help protect your home’s exterior for years. For homeowners who want the preparation, repairs, product selection, and application handled professionally, Century Painting & More provides experienced house painting services charlotte nc for exterior projects throughout Charlotte and surrounding communities.